I decided to make these cute penguin cupcakes inspired by my friend, Caroline's attempt recently. She followed the instructions from the hello cupcake book and hers looked amazing. I thought it would be fun to give them a go but I underestimated how time consuming and messy it would be!! I am still proud of my final efforts and would definitely make them again. In fact I'm having a little international challenge with my friends and relatives to see who can make the best penguin. If you want to join in, just email me a picture!
I used the Cranberry and Orange cupcake as a base but you can use any cupcake flavour. I then used mini doughnuts for the head and body. I couldn't find any donut holes (round balls of donuts) but I think these worked fine except that my penguin looks like it has a hole in its head! Note to self - fill donut hole with frosting next time! Unfortunately I didn't take many step by step pictures as it was a very messy process!
Once you've formed the head and body of the penguin, place cakes in the freezer for at least 10 minutes so it's easier to frost and decorate.
The frosting proved to be the most difficult part for me. I decided to make my own chocolate frosting but couldn't turn brown into black despite a bottle of black food colouring! I decided to make white icing instead (icing sugar plus warm water) and initially had grey frosting (white + black = grey) but eventually got a nice shiny black frosting with the help of my black food paste colouring. In the hello cupcake book, they suggest using a tub of ready made icing (my friend used the Betty Crocker chocolate fudge icing + 1/2 bottle of black food colouring)
Then came the fun bit of putting the penguin together. Dip the cake into frosting until everything is coated. Cut a piece of marshmallow for the body. Stick half a fruitella for the beak and oreo cookies for the wings. Finally, pipe the eyes on with writing icing.
 shape head and body with mini doughnuts as shown
  preferably fill top of donut with icing and then place in freezer for at least 10 minutes.
 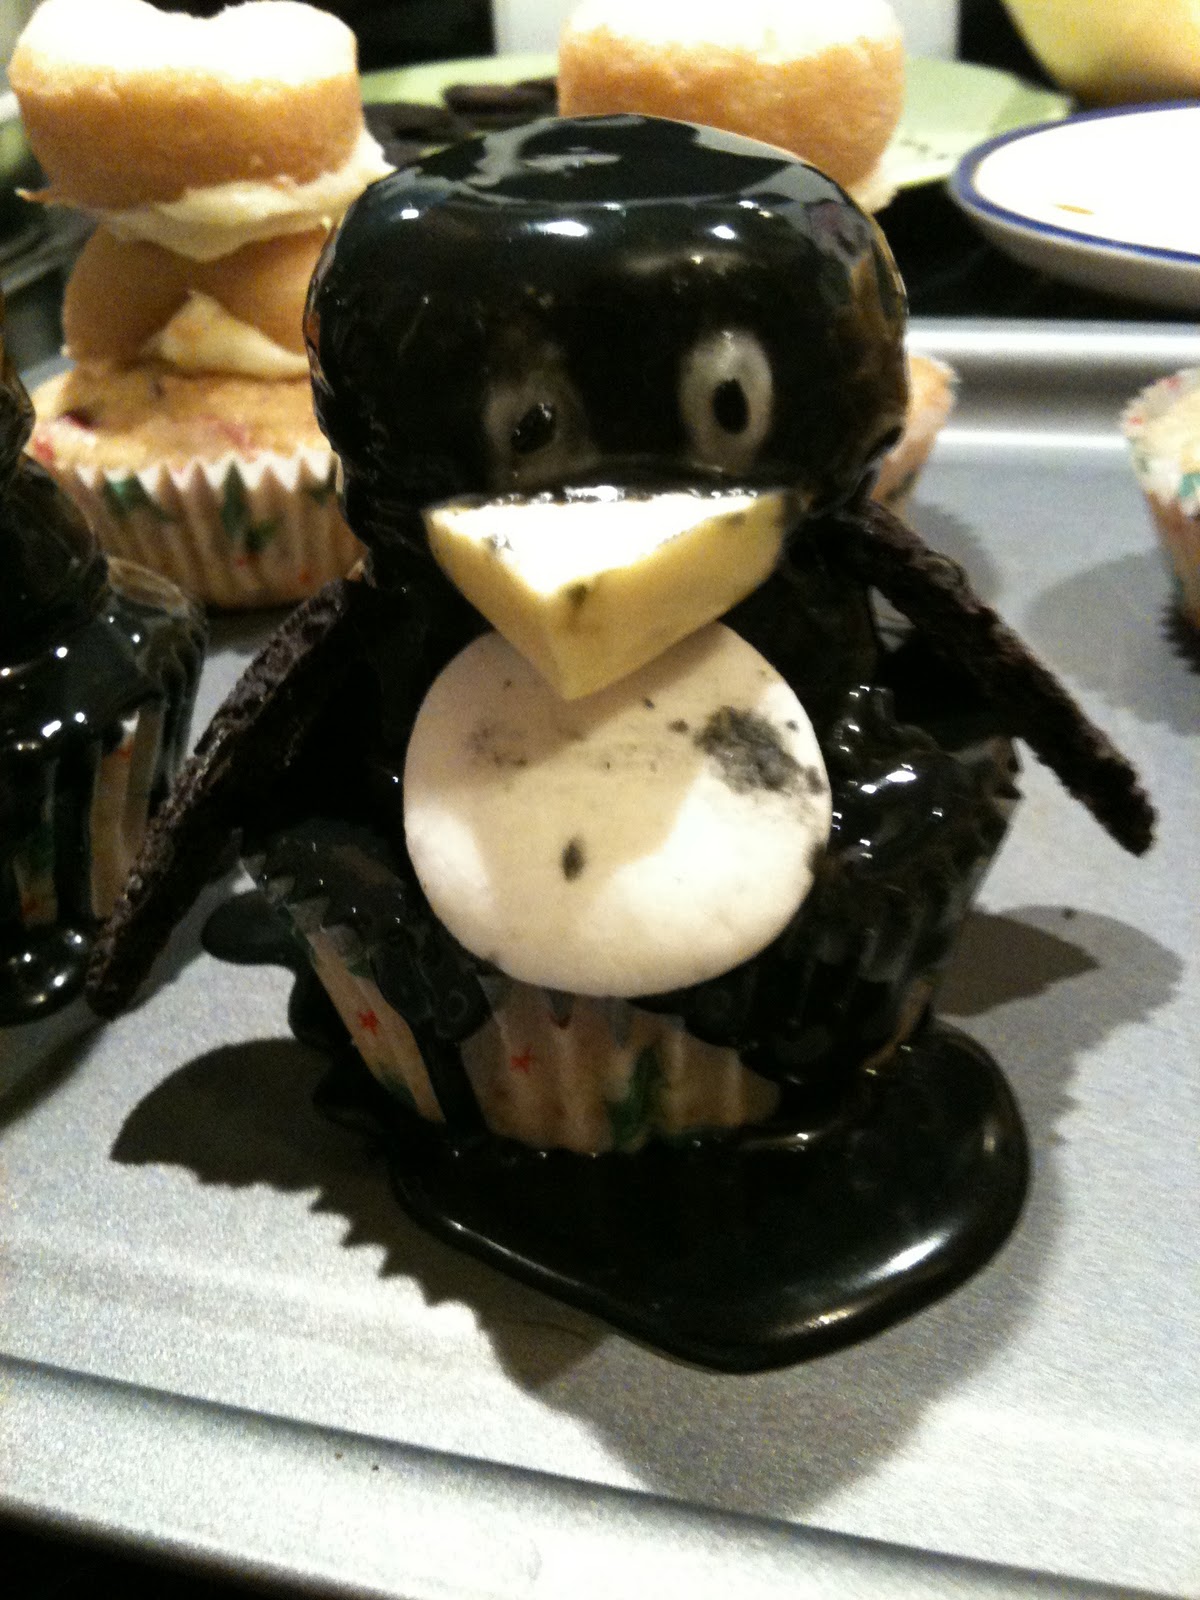 My icing was a little too runny!
  the beak kept falling off!
  droopy eyed

 the next day when the icing had dried
I had a second attempt at the penguins as a joint effort with my friend Dave. This time I used the Betty Crocker icing as suggested in the book. We also put a lot more icing to shape the penguin's head and body and filled the donut hole. Here they are the Happy Feet Penguins :)
Which one is your favourite?
Do you think the first or the second attempt looks better?
 filling and shaping with icing
  happy
happy  droopy
  confused
  worried
  evil
evil 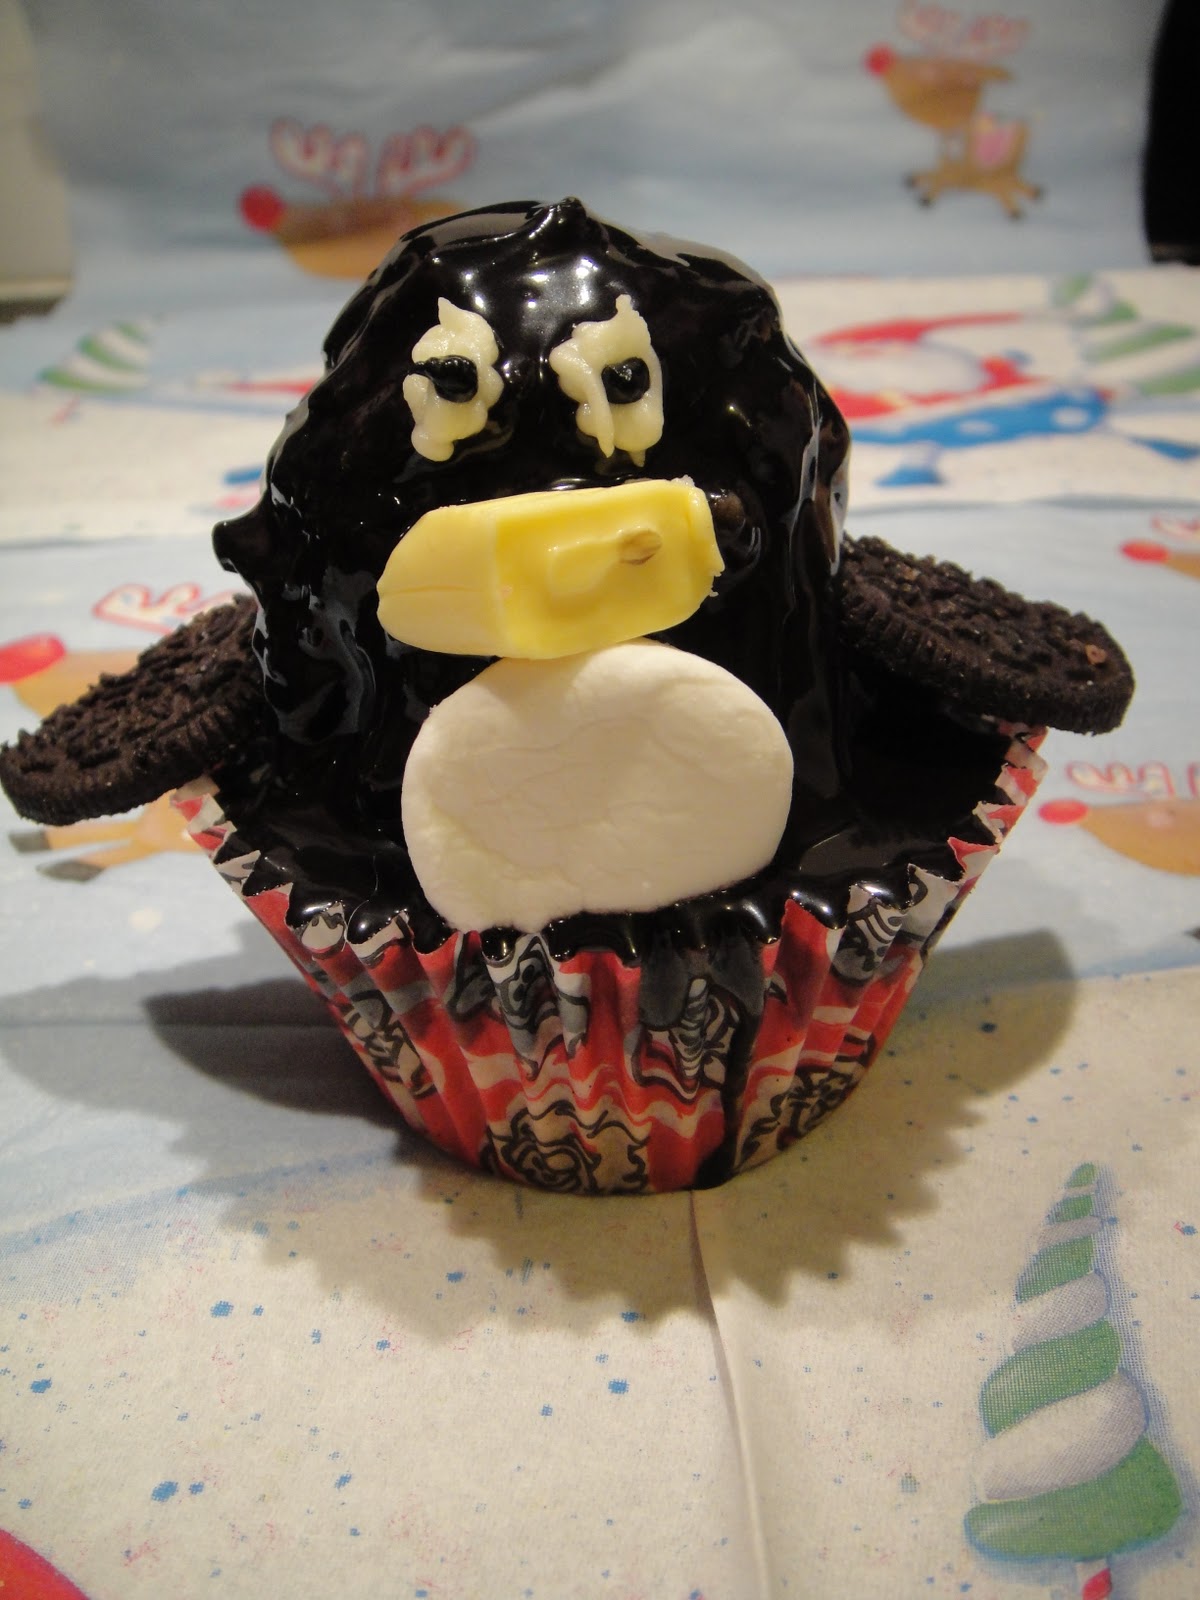 dopey
dopey sad
sad 


HAPPY CHRISTMAS EVERYONE!