Sunday 27 February 2011

Green Tea Cookies


This is the first time I've baked with matcha powder or green tea. (I made these cookies before I made the green tea chocolate bundt cake).  I followed the recipe exactly and I think it has too much tea in it. The tea flavour was very strong and the result was a slightly bitter tasting cookie.  I would probably add a little more sugar and less tea next time.  It was still very nice especially if eaten slowly.  I love the colour of the green tea but they turned a little brown when cooked.  

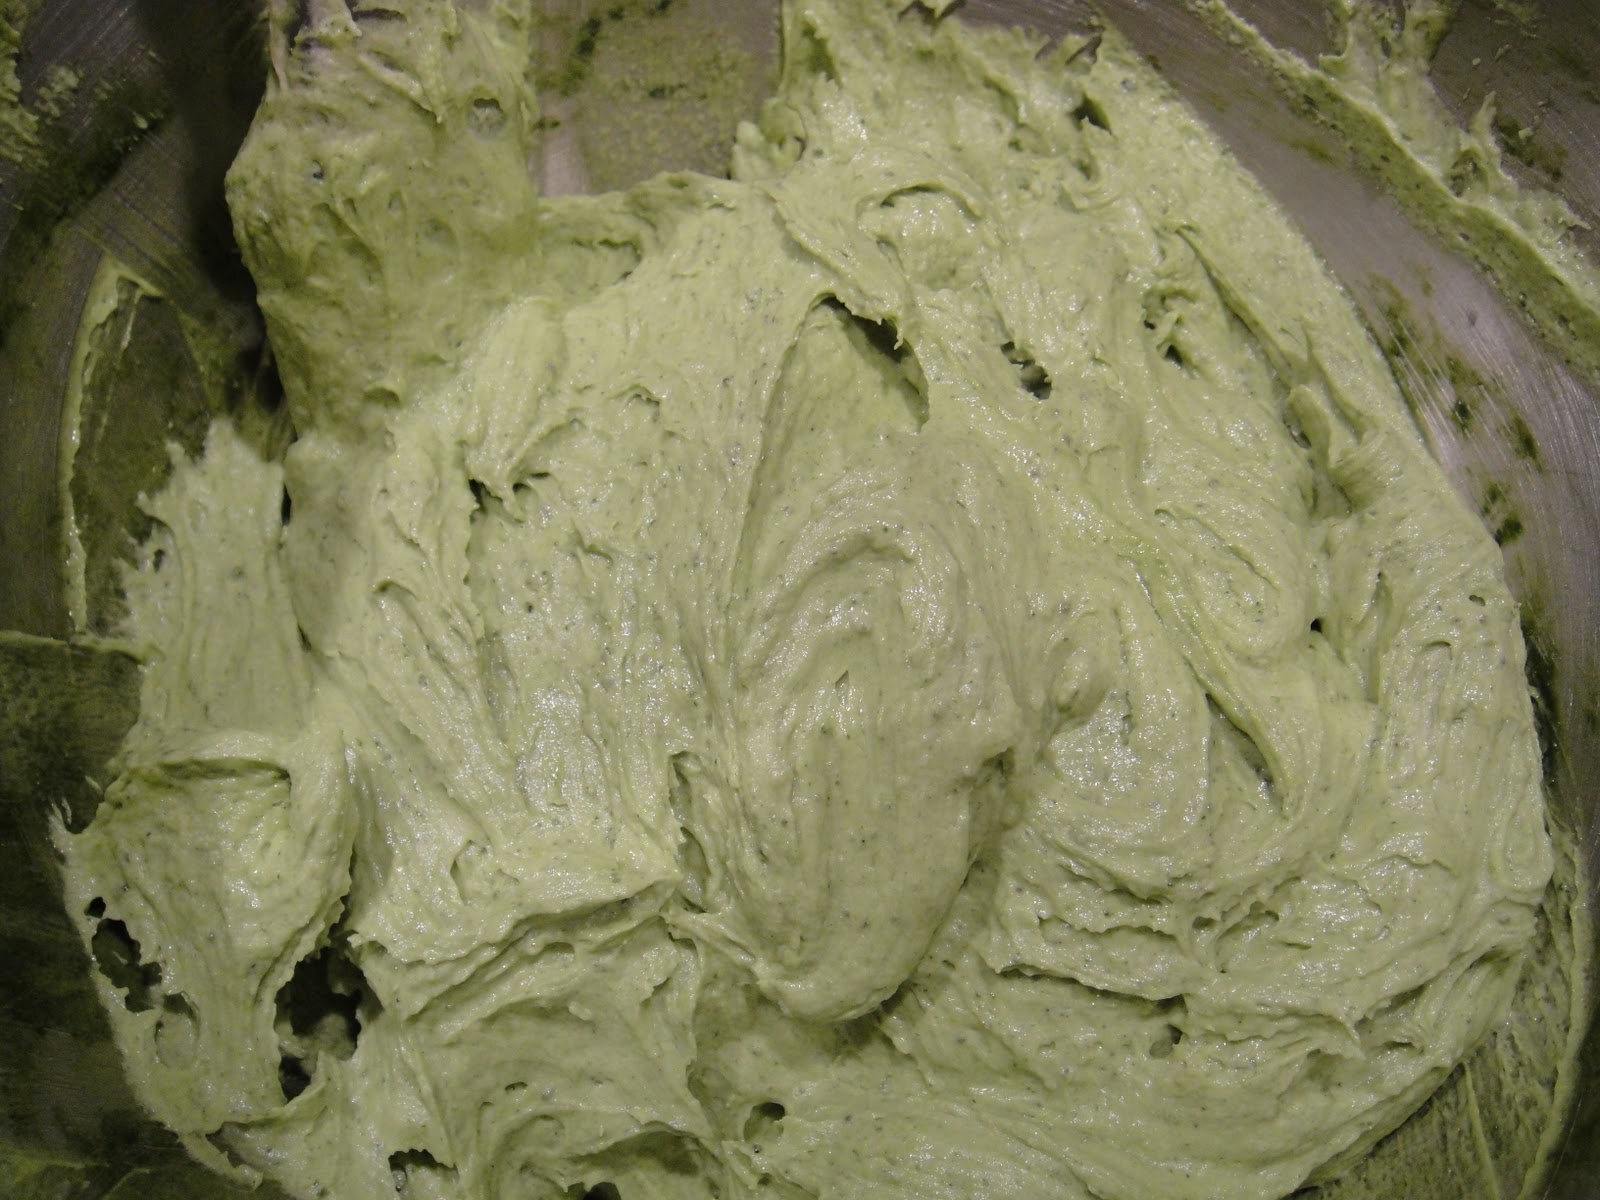
 adding the green tea powder 

 cookie dough - I really love the colour

 I piped the cookies with a 1M star tip

200g butter
50g icing sugar (add a little more if you prefer your cookies on the sweeter side) 
135g plain flour 
15g green tea powder (I would try using 5-10g instead but if you like strong tea flavour then stick to 15g)
50g cornflour
1/2 teaspoon vanilla extract

  • Preheat oven to 180C. 
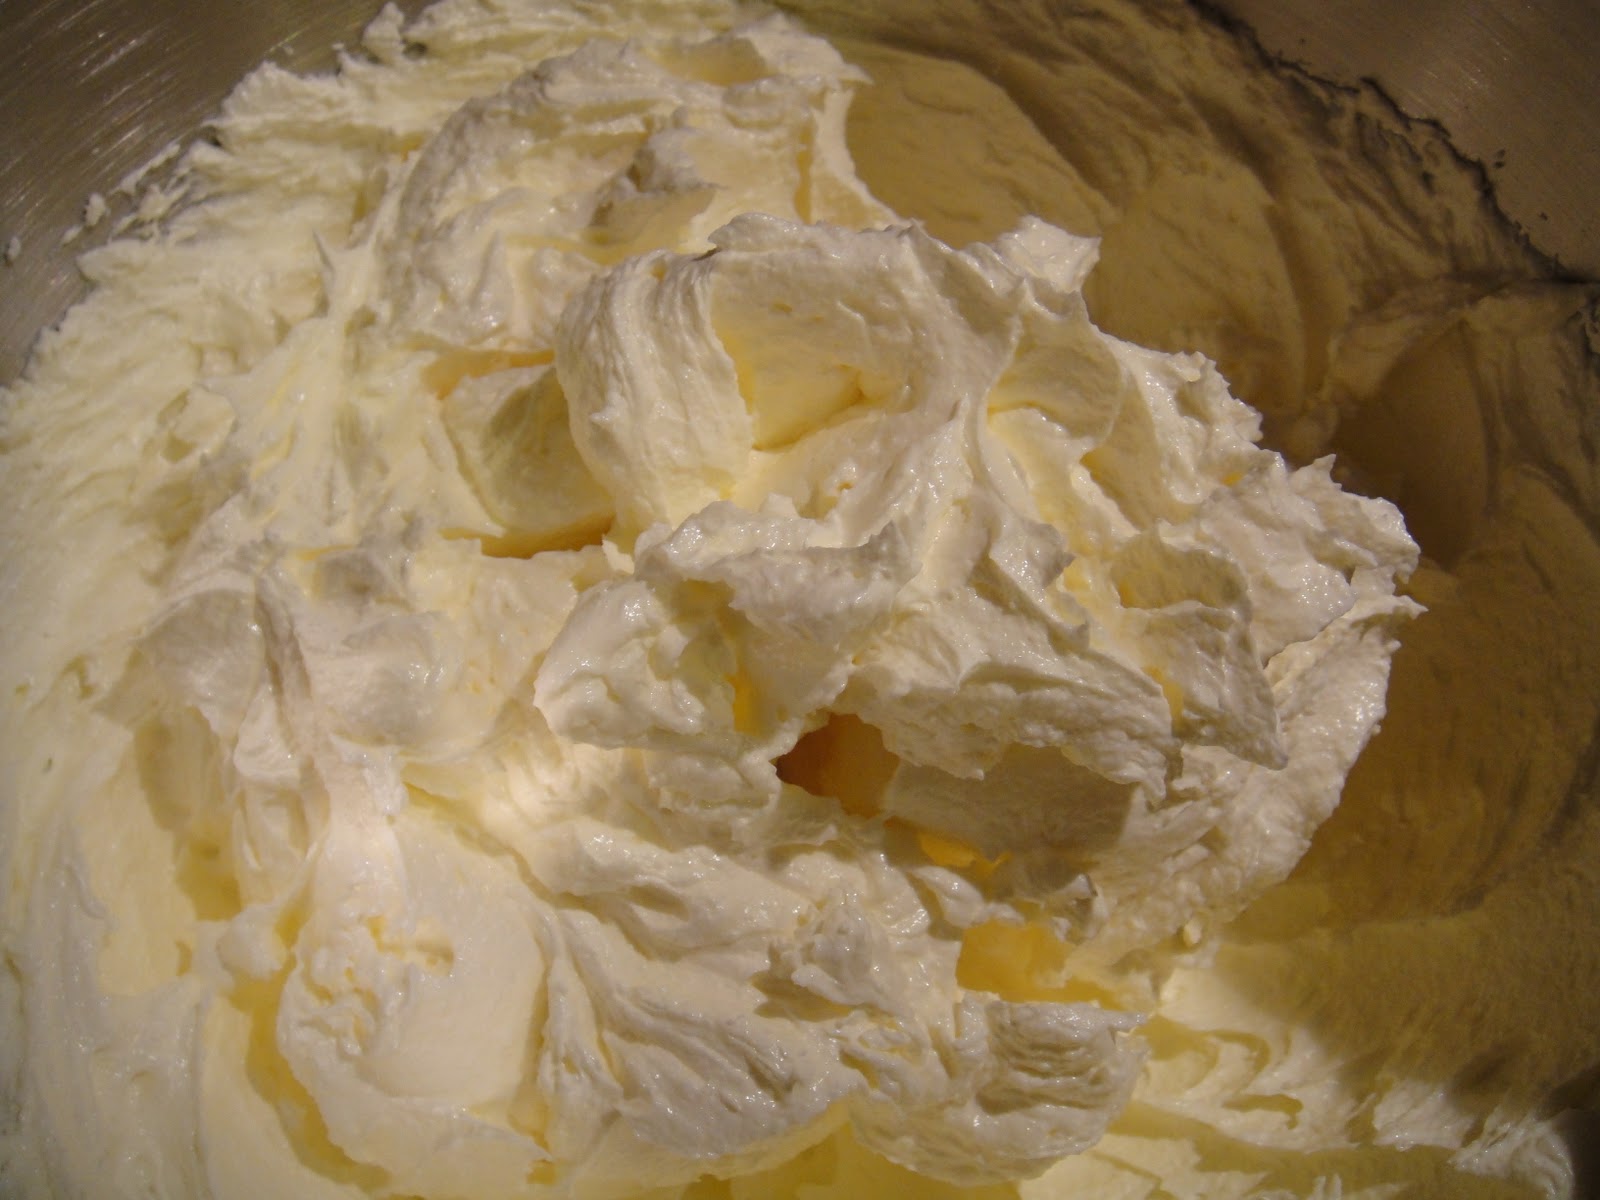
  • Beat butter and sugar until creamy. 
  • Add vanilla extract. 
  • Sift in flour, cornflour, green tea powder and mix well until a dough is formed. 
  • Scoop dough into a piping bag and pipe evenly on to a baking tray. 
  • Alternatively drop tablespoonful of dough on to a baking tray.
  • Bake in the preheated oven for approximately 13-15 minutes until lightly browned. 


Saturday 26 February 2011

Peanut Butter Cookies with Peanut butter and chocolate morsels


If you haven't already noticed, I am partial to a bit of peanut butter... well ok a lot of peanut butter! It's something I never used to like eating but now I just can't get enough of it. I still had 1 packet of the Tollhouse Swirled Milk Chocolate and Peanut Butter morsels left.  I made the recipe from the pack last time but it wasn't terribly exciting. I saw a recipe for peanut butter cookies on one of my favourite blogs - the caked crusader and thought it would be perfect with the addition of these chocolate chips.  The result is truly amazing cookies especially if you love peanut butter. The smell of the cookie alone is enough to make your mouth water.  The cookies are light and crunchy and full of peanut buttery goodness :)


 adding peanut butter to the mix 

 adding my swirled milk chocolate & peanut butter morsels


Makes approximately 30 cookies 
90g butter
130g soft brown sugar 
4 heaped tablespoons crunchy peanut butter
1 egg
125g plain flour
1/2 teaspoon bicarbonate of soda
1/2 teaspoon ground cinnamon
1 cup swirled milk chocolate & peanut butter morsels (or chocolate chips)

  • Preheat oven to 180C.
  • Line 2 baking sheets with greaseproof paper.
  • Beat butter and sugar until fluffy. 
  • Add in the peanut butter.
  • Beat in the egg.
  • Stir in the flour, bicarbonate of soda and cinnamon and mix well. 
  • Add in the swirled milk chocolate & peanut butter morsels.
  • Using a small ice cream scoop, scoop cookie dough onto the baking sheet, allowing room for the cookies to expand. 
  • Bake in the preheated oven for approximately 12-15 minutes or until golden brown. 
  • Allow to cool in the tray for 5 minutes before transferring to a wire rack to cool completely. 

Cinnamon Palmiers


I love palmiers and since I've started baking I've attempted making my favourite recipes at home, often with a little modification. I never knew it was so easy to make a "cheats version" of palmier using store bought puff pastry. It's really quick and simple to make and absolutely delicious.
My oven was not quite hot enough so the pastry was a little soggy but it still tasted great. I'd like to try a traditional sugar palmier next. Any tips on how to get it hard and crispy?

 mix ingredients 

 brush over pastry 

 roll it up

 slice and bake 

 delicious! 

75g sugar
1.5 teaspoons ground cinnamon
57g butter, melted
1 box of puff pastry (or you could make your own!)

  • Preheat oven to 200C.
  • Mix all the ingredients into a paste.
  • Roll pastry dough into a large rectangle. 
  • Using a pastry brush, spread the cinnamon sugar paste in a thin, even layer over the dough.
  • Starting at the long ends of the rectangle, loosely roll each side inward until they meet in the middle. 
  • Slice the pastry cross-wise into 1/4 inch palmiers (they'll look like little scrolls) and place them on a parchment lined baking sheet.
  • Bake for 12-15 minutes until they puff and turn golden brown. 

Wednesday 23 February 2011

Green Tea Chocolate Bundt Cake


This month's We Should Cocoa challenge is tea. Riding high on the (partial) success of my green tea biscuits (which I have yet to blog about) I decided it had to be a green tea and chocolate combination.  I also briefly pondered chocolate and chai tea but as I didn't have any chai tea in the house, I promptly threw that idea out the window.  I got some lovely matcha powder air flown from Japan courtesy of my dad who went on a business trip last year. I love the smell and colour of the tea. I was debating about chocolate cupcakes with a green tea frosting - either white or plain chocolate.  I then came across a recipe for a green tea chocolate bundt cake and knew that I had to make it.  Not least because I also get to use my brand new silicone bundt cake tin which I got last year :) 
The cake had a lovely fragrant smell and it tasted delicious.  The sponge was light and you could really taste the green tea even through the chocolate which is fairly strong.  Everyone really enjoyed the cake and I'd definitely make this again. 


 cream butter and sugar until light and fluffy 

 chocolate and milk mixture 

 adding green tea powder - I love the vibrant green colour! 

 green tea batter

 chocolate batter 

 my new bundt cake pan

 marbling the batter 

 fresh from the oven

 the cake was still hot when I added the icing sugar as I was impatient! It still tasted good though :) 


220g self raising flour
240g butter
250g sugar
6 eggs - separated
113g chocolate
4 tablespoon milk
2 tablespoon green tea powder
1 teaspoon vanilla extract
a pinch of salt


  • Preheat the oven to 180C. 
  • Melt the chocolate with the milk and set aside. 
  • Whisk the egg whites until stiff but not dry and set aside. 
  • Cream the butter and sugar until light and fluffy as shown.
  • Add in the egg yolks, one at a time until well mixed. 
  • Fold in the sifted flour and salt and mix well. 
  • Add vanilla essence.
  • Fold in the egg whites and mix until well incorporated.
  • Divide the batter evenly into 2. 
  • Add chocolate mixture into one and mix well.
  • Sift the green tea powder into the other and mix well.
  • Spoon batter alternately into the bundt pan.
  • Bake for about 50-55mins until a skewer inserted in the middle comes out clean.
  • Cool cake in the tin for about 10 minutes before turning out to cool completely on a wire rack. 
  • Sift on icing sugar generously if desired. (tip: wait until cake is completely cool!)

Monday 21 February 2011

Panda Cupcakes


I made these panda cupcakes for a friend's Chinese New Year Party.  They were fairly easy to make compared to the penguin and duck cupcakes.  I made a plain vanilla sponge and vanilla buttercream frosting but might try a cookies and cream cupcake next time. 
I made these in a bit of a hurry so only managed to make 4 complete pandas. I made the panda faces with the rest of the cupcakes. I now have a mountain of crushed oreos so I feel some oreo cupcakes coming on :) 


 getting ingredients ready - crushed oreos (body), chocolate raisins (nose), chocolate chips (eyes), weetos (ears), black and white frosting 

 place mini marshmallow on the lower third of the cupcake (I didnt have any so I cut up some regular sized ones)

 Spread frosting on top, covering the marshmallow to make the muzzle

 pipe a mouth just below the muzzle with a small vertical line up to the top of the muzzle.

 pipe eye patches above and to either side of the muzzle.

 add 2 chocolate chips, pointed side in for the eyes

 and a chocolate raisin for the nose (the book suggested chocolate coated sunflower seeds)  

 press 2 weetos into the frosting on either side of the top edge to make the ears 


 spread frosting on top of the larger cupcake and  create a mound. Roll in crushed oreos to make the black belly fur. 


 place the mini cupcake heads on their sides on top of the standard cupcakes, lining the faces up with the fur bodies. Add 1/2 and oreo cookie cut side in on either side of the cupcake to make the arms. Pipe 3 small lines of frosting on the arms to make the claws. Pipe a small white highlight in each eye. 


Tuesday 15 February 2011

Chocolate Heart cookies


Happy Belated Valentine's everyone! I know most blogs have been full of valentine goodies so I'm jumping on the bandwagon too :) In fact I can't even claim credit for these as I saw them on Joy the Baker's blog and knew I just had to make them.  It was also a good opportunity to break into my new set of heart cookie cutters.  The cookies turned out really well - strong cocoa flavour with a hint of nuttiness from the wholewheat flour and not too sweet at all. I could probably eat the whole batch myself!

 dough and heart shaped cookie cutters

 large hearts 

 medium and mini hearts 

 I forgot to add the sugar before I baked them so added them in just after they've been baked. Most of it stayed on :) 


140g wholewheat flour
57g plain flour
45g cocoa powder
1/4 teaspoon salt
1/2 teaspoon baking powder
113g butter
82g brown sugar
42g sugar
1 large egg


  • Preheat the oven to 180C.
  • Line 2 baking sheets with parchment paper.
  • Whisk flours, cocoa powder, salt and baking powder. 
  • Beat butter and sugars until well mixed.  
  • Add in the egg and continue mixing.
  • Add dry ingredients and mix on low speed.
  • Spoon batter out onto a sheet of parchment paper and form loosely into a log.
  • Chill dough for at least 2 hours or overnight. 
  • Lightly flour a rolling pin and roll out the dough onto a lightly floured surface. 
  • Use cookie cutter to cut cookies and place on prepared baking sheets.
  • Lightly brush the cookies with water and brush with granulated/sanding sugar if required. 
  • Bake for 10 - 12 minutes. 
  • Allow to rest on the baking sheet for 10 minutes before transferring to a wire rack to cool completely.  

Sunday 13 February 2011

Horlicks Cookies


In case you didn't know, it was Chinese New Year on the 3rd of February 2011.  It's the year of the Rabbit but I don't know how to make rabbit shaped cookies so I made these instead. They were supposed to be puppies but I think they look more like bears.  I also tried some with 'cornflake ears' to give it a slightly more doll like appearance.  The cookies themselves are extremely more-ish.  The Horlicks flavour brings back childhood memories. They smell amazing too! I love how they each have their own character. It was time consuming to make but really good fun and everyone definitely enjoyed eating them.


 definitely a bear I think 


 A doll? 


 mama bear 

 papa bear 

Makes ~ 40
180g butter
100g Horlicks
200g flour
25g cornflour
50g sugar

Decoration
Weetos cereal or cornflakes
Chocolate chips
Chocolate strands


  • Preheat oven to 140C.
  • Cream the butter and Horlicks for about 3 minutes at a low speed with an electric mixer. 
  • Add in the flour, cornflour and sugar and beat for a further minute.
  • Divide the dough into balls. 
  • Insert 2 pieces of Weetos for the ears, chocolate strands for the eyes and a chocolate chip for the nose.
  • Bake for about 25 minutes.