Showing posts with label savoury. Show all posts

Thursday, 20 August 2015

Brie, Courgette and Red Pepper Muffins


J took the bacon, blue cheese and polenta muffins to work and it went down well in his office. However, the vegetarians were disappointed as they didn't get a look in. I felt I had to bake a vegetarian muffin to compensate and as I still had a lot of cheese leftover from the cheese box I decided it had to be a cheesy one. I found this recipe on BBC Good Food and decided to give it a go. The recipe says to skin the peppers which I've never done before and it worked! It was a little messy so I might try using the grill next time. The website said to blacken the whole pepper on an open flame or under a grill. Place in a bowl and cover with cling film. The peppers will shrink at this point. When it's cool, the skin comes off easily with the help of a small knife. 

These muffins were really tasty. I loved the mix of courgette, peppers and cheese and even though I am a bacon addict, I have to say that these were better than the bacon ones! It was well worth the effort of preparing the peppers (which I was tempted to skip) and pre cooking the courgettes. 

I'm sending this to a few blog challenges this month. 

AlphaBakes hosted by Caroline from Caroline Makes and co hosted by myself on alternate months. The letter this month is Z for Zucchini also known as courgette. 


Simply Eggcellent hosted by Dom from Belleau Kitchen. The theme this month is anything goes.


Extra Veg challenge hosted by Jen from Jen's Food this month. The challenge is run by Helen from Fuss Free Flavours and Michelle from Utterly Scrummy. These muffins are a great way to incorporate extra veg into your diet.


Simple and in Season hosted by Ren as courgettes are currently in season. 


Love Cake hosted by Ness from Jibber Jabber UK as the theme this month is 'Pack me a Picnic' These muffins are perfect for picnics as they are easy to bake and easy to transport. 


 pre cooking the courgettes 

 multi tasking! 

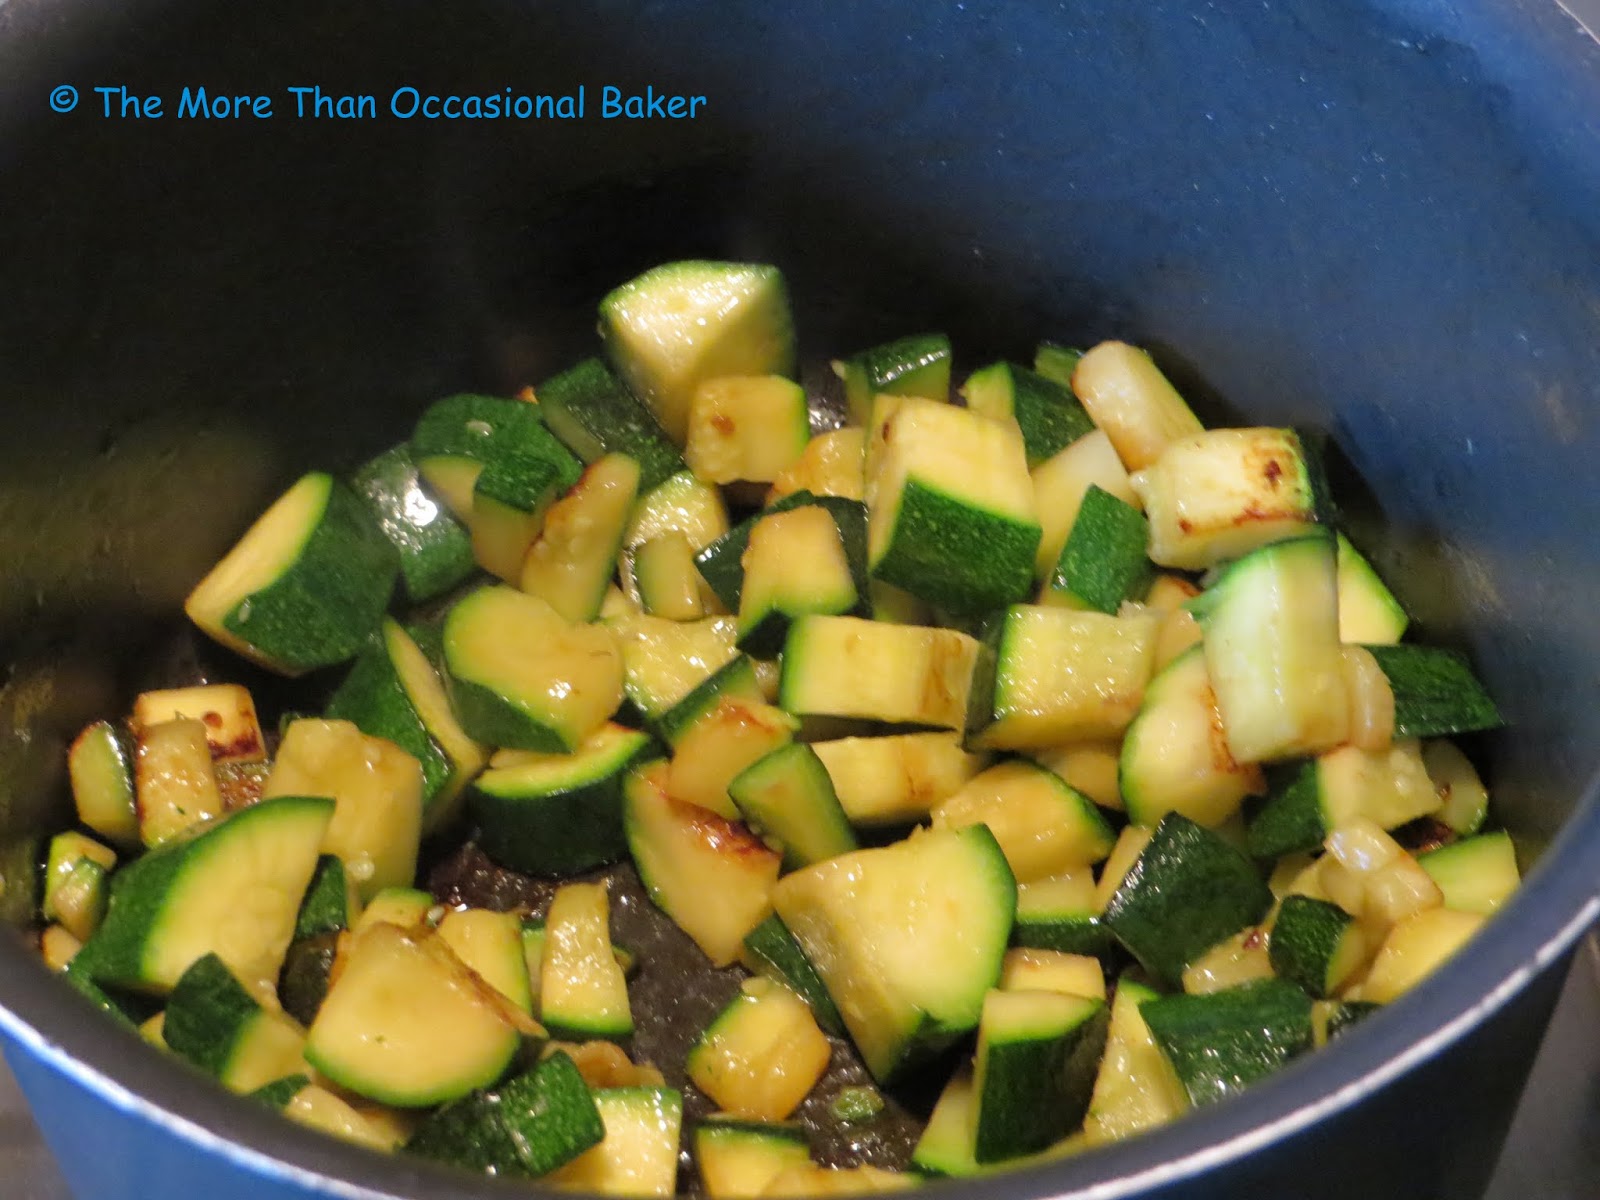
 lovely buttery courgettes 

 blackened pepper - cover with cling film and when it's cool, scrape the skin off. If there's a little left, just rinse it under a tap and it comes off easily. 

 look at the colourful ingredients! You will spy that there is a little bit of red leicester cheese with the brie as I didn't have enough brie 

 generous sprinkling of applewood cheddar on top before baking 


Recipe from BBC Good Food

2 small or 1 large courgette, cut into small cubes
approximately 25g butter
250g self raising flour
1 teaspoon baking powder
1 teaspoon dried mixed herbs (or just oregano)
3 eggs, lightly beaten
100mls milk
5 tablespoons vegetable oil
2 red peppers, skinned and cubed
85g cheddar cheese, grated (I used applewood cheddar as that was what I had in the fridge)
100g brie, cubed


  • Melt butter in a medium sized saucepan and cook the courgettes for about 5 minutes until soft and lightly brown. Set aside.
  • Place 2 red peppers over an open flame or under the grill until the skin is charred. You will need to turn the pepper with heat resistant tongs.
  • Once the pepper is completely charred, place in a bowl and cover with cling film. Leave to cool for a few minutes.
  • Use a small knife to scrape away the skin. You may need to rinse the pepper under a tap if the skin does not come off easily.
  • Cut the top of the pepper and remove the seeds and inner membrane.
  • Slice the pepper into large chunks.
  • In a large bowl, mix the flour, baking powder, dried mixed herbs and salt and pepper to taste. 
  • Make a well in the centre and add in the eggs, oil and milk.
  • Give it a quick stir. 
  • Add the courgettes, red peppers, 2/3 of grated cheddar and brie. 
  • Stir until just mixed.
  • Divide the batter between 12 muffin cases.
  • Sprinkle the remaining grated cheese on top of each muffin and bake for approximately 25-30 minutes or until golden brown and a skewer inserted into the centre comes out clean. 


Tuesday, 18 August 2015

Bacon, Blue Cheese and Polenta Muffins


We had a BBQ party at home recently and ended up with quite a lot of leftover food. Amongst them was a whole box of cheese as there was too much food and we didn't get round to eating it on the day. We ate some of the cheese but there was so much and I didn't want to waste it so I thought I'd bake with it. I found a pack of bacon in the fridge and immediately decided on bacon and blue cheese muffins. I spied some polenta which has been in my cupboard for a while so I added them in as well. The result was a delicious, crumbly savoury muffin. You can definitely taste the bacon and depending on which bit you get you also get a hit of the blue cheese. The basil was very subtle and almost undetectable but added a lovely fragrance and hint of sweetness to the muffin. The polenta made them quite crumbly but I thought that was the best bit. 

I'm sending this to the No Waste Food Challenge hosted by Elizabeth from Elizabeth's Kitchen Diary. This recipe is made from leftovers - blue cheese, bacon and polenta. 


It's also perfect for Love Cake hosted by Ness from Jibber Jabber UK as the theme this month is 'Pack me a Picnic' These muffins are perfect for picnics as they are easy to bake and easy to transport. 


 I added a bit of brie as I didnt have enough blue cheese 


 adding blue cheese, basil and bacon

 top with a small piece of bacon

 I put them under the grill for a minute or two just to brown the tops. 


 You can see the crumbly texture 

Makes 10 large muffins

Recipe adapted from Fold in the Flour


6 rashers of smoked bacon (you need 5 for the recipe and 1 for the decoration)
200g plain flour
150g fine polenta
1 tablespoon baking powder
1/2 teaspoon salt
80g caster sugar
1 egg, lightly beaten
5 tablespoons water
5 tablespoons vegetable oil
175mls milk
20 fresh small basil leaves, finely chopped
90g blue cheese, crumbled (I used about 70g of blue cheese and 20g of brie as that was all I had) 

  • Preheat the oven to 180C. 
  • Cook the bacon under a grill or on a frying pan and drain the excess oil. Cut into small bite size pieces.
  • In a large bowl, mix the flour, polenta, salt and sugar. 
  • In another bowl, mix the egg, oil, water and milk.
  • Tip the wet ingredients into the dry ingredients and mix gently.
  • Add in the blue cheese, chopped bacon and chopped basil leaves.
  • Stir again until just mixed. 
  • Divide the batter evenly between 10 muffin cases.
  • Place a small strip of bacon on top of each muffin.
  • Bake in the pre heated oven for 20-25 minutes or until a skewer inserted into the centre comes out clean.
  • Mine were only slightly browned but cooked so I placed them under the grill for a minute or two until the tops were browned. 

Wednesday, 6 May 2015

Mini Pork Pies with Quails Eggs


Last month I mentioned that I tried hot water crust pastry for the first time. Quite a few of you have been wondering what I made. Well I decided to be brave and had a go at Paul Hollywood's small pork pies with quails eggs! If you've watched the Great British Bake Off, you will know that it was one of the technical challenges and has been on my 'to bake' list for a while. I have to admit I was a little nervous and kept reading the recipe to make sure I'd not missed anything. I can see why it's a technical challenge - it's not as simple as it looks! I followed his recipe exactly but found I had too much filling so I made another batch of the hot water crust pastry and baked 12 mini pork pies. You can of course make half the filling for 6 pork pies.

So what did I learn from this experience? I can make hot water crust pastry - yay! It was really simple and I followed the recipe exactly. However, as mentioned for this recipe I had to make 2 lots of pastry for the amount of filling stated. I might have to get a larger muffin tin or just halve the amount of filling. The part that I struggled with was sealing the lid of the pastry - I ended up using the top of a teaspoon to push it into the pie and to create a seal. You do  have to work quickly with the hot water crust pastry as it dries out and hardens the longer you leave it, making it more difficult to mould. I'm glad I made the batches of pastry one at a time instead of just doubling up the amounts. The other slight stumbling block was that the recipe said to make a hole in the centre of each pie - my pies were really full and there wasn't much space at all. The centre was where the quails egg was so the top of the egg got a little brown. In addiction, I could only get a small amount of gelatine mixture in but it worked and you can see it in the pie after it's been chilled.

All in all it was a great learning experience and I am really pleased with the final result. J was most impressed and we still have a few left in the freezer for a rainy day. We had these pork pies with a salad on a weekend and it was perfect. I am definitely making these again particularly in the summer for picnics or packed lunches.

I'm sending this to a few blog challenges this month.

AlphaBakes hosted by me this month and co hosted by Caroline from Caroline Makes. The letter this month is Q for Quails eggs!


The pastry challenge hosted by Jen from Jen's Food and Lisa from United Cakedom. The theme this month is picnics and thes mini pork pies are easily transportable plus you can bake them in advance.


Simply Eggcellent hosted by Dom from Belleau Kitchen. The theme this month is savoury.


Treat Petite hosted by Stuart from Cakeyboi and Kat from The Baking Explorer. The theme this month is Eurovision. These pork pies are very British and they are mini versions.


Tea Time Treats hosted by Jane from The Hedgecombers and Karen from Lavender and Lovage. The theme this month is Sandwiches, Wraps and Rolls. These are a sneaky entry but they definitely fit the savoury theme!


Biscuit Barrel challenge guest hosted by Alexandra from The Lass in the Apron on behalf of Laura from I'd Much Rather Bake Than ...  The theme this month is Party and these are definitely great for parties.


Bake of the week hosted by Helen from Casa Costello.


Recipe of the week hosted by Emily from A Mummy Too.


Cook Blog Share hosted by Lucy from Supergolden Bakes.


 bring water and salt to a boil then add the lard 


 rub butter in to the flour 

 the dough comes together nicely 


 adding the filling - you can see that it was a bit of a squeeze for my filling 

 you can see the quails egg poking out through the hole in the centre and there's not much of a gap for the gelatine mixture 

 baked and chilled overnight in the fridge 

 ta dah! 

 served with fresh green salad 

Recipe from BBC Food 

Monday, 20 April 2015

Quick and Easy Pizza Dough


I love how you can connect with others on social media particularly on twitter. A recent follower on my twitter account is David from Old Fat Guy (@DiscoDavid9)  He lives in Canada and likes to cook. He has lots of great recipes on his site but the one that caught my eye recently was this recipe for Quick Pizza. I'm not a huge lover of pizza and will almost always choose pasta over pizza if we eat at an Italian restaurant. Over the Easter weekend, we did a lot of work around the house and wanted something quick and simple for dinner. Instead of ordering a takeaway pizza, I decided to give David's recipe a try as it seemed so quick and simple. 

It was also a good chance to make use of ingredients in the fridge to use as pizza toppings. I was terrible at shaping the pizza so mine looks quite 'rustic'. Let's just say that was how I intended it to look in the first place :) I rolled out the dough quite thinly as I prefer a thin base pizza and made 2 different ones. The first had a tomato and pepper pesto as a base and was topped with pepperoni, mushrooms, tomatoes, grated cheese and mozarella cheese. The second one had a bbq sauce base and was topped with ham, cheese and tomato. I baked them on my pizza stone and they tasted absolutely delicious! The pizzas were ready in about 35 minutes from start to finish! That's quicker than some pizza deliveries particularly on a busy weekend. This is definitely going on the regular menu plan and it would be great for parties or when I have guests round. 

I'm sending this to Bready, Steady, Go! hosted by Jen from Jen's Food and Michelle from Utterly Scrummy Food For Families. Both Jen and Michelle are keen bread bakers so they've decided to host this challenge together. 


I'm also sending it to Bookmarked Recipes hosted by Jacqueline from Tinned Tomatoes. I bookmarked this and a few other recipes whilst going through David's blog.


It's also perfect for Credit Crunch Munch guest hosted by Michelle from Utterly Scrummy. The challenge is run by Camilla from Fab Food 4 All and Helen from Fuss Free Flavours. Making your own pizza is definitely more cost effective than ordering one for delivery even if you bought all the ingredients from scratch. Hopefully you will have some of these ingredients at home. The bonus is you can custom make your own pizza and not have to pay extra! As mentioned I used up leftovers from the fridge for toppings. 


 mix until the dough starts to clump on the hook

 almost ready - you can see that the dough is smoother and sticks to the dough hook 

 my 'rustic' pizza 

 spread base of pizza on dough 

 add your toppings and bake 

 first pizza - tomato and pepper base with pepperoni,mushroom, tomato and cheese 


  second pizza - bbq sauce base with ham, tomato, mushroom and cheese 

Recipe adapted slightly from Old Fat Guy
I used bread flour instead of plain flour as I'd run out of plain flour (shocking but true) 
My pizzas only needed 8-9 minutes to cook as the dough was very thin and I used a pizza stone. 

240g bread flour (or plain flour), divided into 120g x 2
2.25 teaspoon easy bake yeast 
1 teaspoon sugar
3/4 teaspoon salt
160ml very warm water
3 tablespoons vegetable oil
Pizza toppings of your choice 

  • Place a cold pizza stone in the oven and pre heat the oven to 220C or as high as your oven will go.  
  • Mix 120g flour, yeast, sugar and salt in the bowl of a stand mixer.
  • Add the water and oil to the mixture. 
  • Give it a quick stir then add the remaining 120g flour and place on the stand mixer with a dough hook.
  • Mix until the dough starts to clump on the hook and continue mixing for another 7 minutes. Set a timer and let the mixer do all the work! 
  • Leave the dough to rest for 10 minutes. 
  • Roll out the dough in a circle and toss the pizza if you know how! Otherwise, roll it out thinly into a rustic shape like mine.
  • Transfer the pizza to the hot pizza stone and spread pesto sauce, bbq sauce or pizza base on top of the dough then add the toppings. I found it easier than transferring a ready made pizza to the hot pizza stone. Alternatively you can use a cake lifter or pizza paddle to transfer the ready made pizza to the hot pizza stone. 
  • Bake for about 8-9 minutes or until the cheese is bubbling and the dough is brown on the edges. You may need to bake it longer if your dough is thicker. 
  • Slice and enjoy! 
  • Note: If you don't have a pizza stone, you can bake this on a pizza pan which has perforations to ensure a crispy base.