Showing posts with label halloween. Show all posts

Friday, 30 October 2015

Spider Cupcakes

Halloween

Happy Halloween everyone! This is a quick and easy project to make for Halloween. There's still time to bake these tomorrow as it's really simple and does not require any specialist equipment. The kids will have lots of fun decorating these! Life has been a bit hectic lately so I've not had a chance to do as much Halloween baking as I would have liked. I baked these late last night and they were a real hit at work today. I used a favourite chocolate cupcake recipe which is a mix all in one recipe with generous servings (makes 18 cupcakes). As I was short on time, I made a quick chocolate ganache to spread on top and decorated the cupcakes to look like spooky spiders. I couldn't find any black liquorice lace sweets but managed to find strawberry cables which is what I used for the legs. The eyes are made of white chocolate buttons and milk chocolate chips. The cupcakes were chocolatey and the ganache was divine. Great cupcakes on their own but much more fun eating all the parts of the spider too! 

I'm sending these to Treat Petite hosted by Stuart from Cakeyboi and Kat from The Baking Explorer. The theme this month is Black and Orange. I used orange cupcake cases and there's plenty of dark chocolate in the cake and frosting!


It's also perfect for #FoodYearLinkUp hosted by Charlotte from Charlotte's Lively Kitchen. There were lots of events for the Food Bloggers Calendar in October and I am sad to have missed out on quite a few but pleased that I've managed one Halloween bake.


 Strawberry cables, white chocolate buttons, milk chocolate chips and chocolate strands/vermicelli 

 place a generous amount of chocolate ganache on top of the cupcakes

 Spinkle the chocolate strands on top then add the 'eyes' and 'legs' as shown. 

Halloween They looked really good in a red container

Halloween I ran out of strawberry cable so 2 of them didn't have legs! 

For the cupcakes - Makes 18 cupcakes

280g plain flour
250g caster sugar
80g cocoa powder
1 teaspoon bicarbonate of soda
1 teaspoon salt
1/2 teaspoon baking powder
300mls water
170g butter
2 eggs
1 teaspoon chocolate extract (you can also use vanilla extract)

For the chocolate ganache 

150ml double cream
150g dark chocolate

For the decorations

Chocolate strands/vermicelli
White chocolate buttons
Milk chocolate chips
Strawberry cables or liquorice lace sweets


  • Preheat the oven to 180C.
  • Place all the ingredients for the cupcake into a large mixer bowl and mix on low - medium speed for a few minutes until well mixed. 
  • Scoop into cupcake cases and bake for 18-20 minutes or until a skewer inserted into the centre comes out clean.
  • Allow to cool completely before decorating.
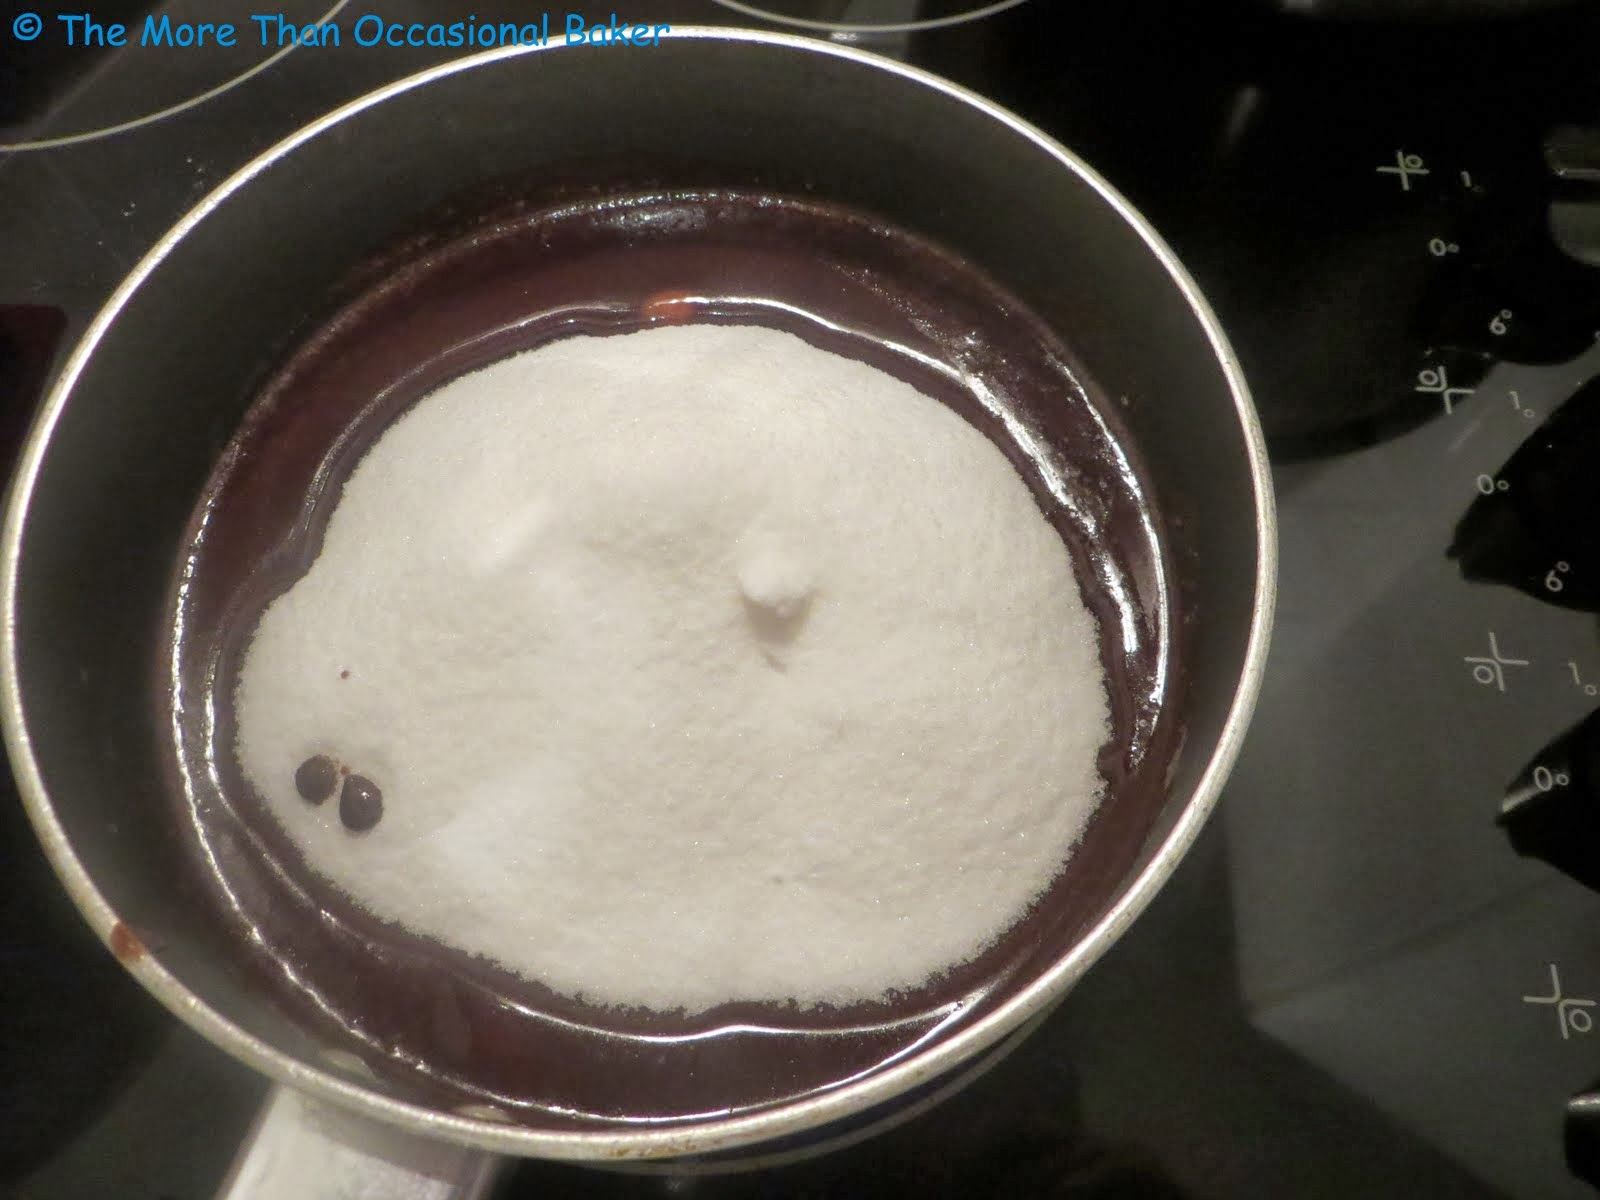
  • Make the chocolate ganache by heating the cream gently until bubbles just form.
  • Add in chopped dark chocolate and stir until smooth.
  • Decorate the cupcakes as shown above.


Thursday, 30 October 2014

Spooky Ghost Cake Pops


Halloween is almost here - are you ready? I try to bake a few things for Halloween each year but this year has been exceptionally busy so I've not been able to bake as much as I would have liked to. I am going to bake some muffins and cookies if I have time for the trick or treaters. As I've just moved house, I have no idea how many trick or treaters to expect. There may be none in which case there will be a lot of leftover goodies! Do you buy candy or make something for the trick or treaters or do you avoid them altogether? 

Dr Oetker sent me some goodies to create these Ghost Cake Pops. The recipe is in collaboration with Juliet Sears and she has a very clear, detailed video showing you how to make them. I forget how fiddly cake pops are and these don't look as good as Juliet's but luckily at Halloween ugly and scary is good!! They are actually really simple to make but quite time consuming as there are several steps involved and required chilling time and drying time.

 Dr Oetker ingredients for this recipe


I followed the recipe exactly apart from using jam instead of icing to stick the fondant to the cake pop. I also added a little buttercream to the mix as it was really crumbly and I found it difficult to roll into a ball. Luckily I had some leftover coffee buttercream to hand and I quite like the chocolateand coffee flavour combination.

I'm entering this to Treat Petite hosted by Kat from the Baking Explorer and Stuart from Cakeyboi. The theme this month is Trick or Treat. These are perfect for Halloween and I'm grateful to Kat for including my extremely late entry.


I am also entering it to Let's Cook for Halloween hosted by Nayna from Simply Food. 


 luckily I'm crumbling this up for cake pops as a bit of it stuck to the pan. 

 melted white chocolate, crumbled brownie and lollipop sticks

 ready to go in the freezer

 My rather large and ugly looking cake pops. I bought the cake pop stand at the BBC Bake and Cake show 

 starting to look like ghosts 

 spooky ghosts especially with the shadows! 


SPOOKY GHOST CAKE POPS
Preparation time: 2 hours plus cooling and chilling
Cooking time: 40 minutes plus 10 minutes to melt 2 lots of chocolate

​Ingredients:
For the cake balls:
120g Dr. Oetker 72% Cocoa Extra Dark Fine Cooks Chocolate
150g soft unsalted butter at room temp
200g Light Muscovado Sugar
3 medium free range eggs, lightly beaten
2 tsp Dr. Oetker Madagascan Vanilla extract
125g Plain FlourFor the cake pops:
2 X 100g bags of Dr. Oetker White Chocolate Chips melted for sticking the balls onto the sticks & coating the cake pops
Teaspoon of vegetable oil

To decorate the ghosts:
1 x pack of Dr. Oetker White Regal Ice
Icing sugar for rolling out
Dr. Oetker White Designer Icing for sticking the regal ice to the cake pops
Dr. Oetker Jet Black Gel Food Colour


Method:
  • Preheat the oven to 140°C (275°F, gas mark 1). 
  • Grease and line an 18cm (7 inch) square cake tin
  • To make the fudge brownie mix melt the extra dark chocolate in a microwave on medium power for 30 seconds at a time, stirring each time until melted, or in a heat proof bowl on a gentle heat over a bain marie. Leave to cool.
  • Beat the butter and sugar together in a stand mixer with paddle attachment or electric hand beater for approx. 2 minutes until pale and fluffy. If you haven’t got an electric mixer you can do this with a wooden spoon in a bowl .
  • TIP: if you are in a rush or the butter is quite cold, the addition of a couple of tablespoons of boiling water at this stage, beaten on slow until mixed will speed up this process.
  • Add your eggs on a slow speed about a third at a time, mixing until combined.
  • Add your cooled chocolate stirring continuously. Add the vanilla Extract and stir. On slow speed mix in the flour until just combined. Do not over beat. Alternatively fold in by hand.
  • Pour the mix into your cake tin and bake for approx 40 mins. Check it with a sharp knife or metal skewer. You want this to be slightly under baked, so the knife should come out pasty, with a nice paste on the knife.
  • Leave to cool, then turn out into a bowl and crumble with your hands to fine fudgy crumb.
  • To make the cake balls, take a handful of fudge cake mix and squeeze together tightly - you are aiming for little balls about the size of a large walnut, approx. 30g each. If the mixture is dry, the addition of a little chocolate or vanilla butter cream will help the mixture stick
  • Once you have all of your balls ready, dip the end of your stick into the melted chocolate chips and push the stick into each ball, about half way in. Hold the ball to stop it splitting open when the stick goes in
  • Once all the cake pops are ready, refrigerate them for 1-2 hours before dipping them, or pop into the freezer for 30 mins, so the balls are firm enough to hold when dipping in the coating
  • To coat the cake pops melt Dr. Oetker Fine Cooks White Chocolate on low power in a microwave bowl until just melted - stirring occasionally or over a bain marie on a gentle heat
  • Plunge each cake pop into the chocolate coating until completely covered. Tap the cake pop gently on the side of the bowl to shake off the excess. Once all are covered, dip each cake pop again
  • To decorate the ghosts roll out half the white regal icing into a large rectangle using plenty of icing sugar and a large plastic rolling pin. Roll fairly thinly – 2 to 3mm thick. Squeeze a little Dr. Oetker White Designer Icing onto the tops of the cake pops or brush with some melted white chocolate, to aid sticking of the sugar paste
  • Using a cake cutter or small bowl, cut out circles of regal icing and place on each of the pops, smoothing down with your fingers to create the white sheet effect. Allow a little wavy movement by using your fingers to create smooth creases around the sides. Leave to set for a few hours to dry.
  • To add the ghostly expression take some Dr. Oetker black gel colour and squeeze out the eyes and mouth shapes. Leave these to dry overnight.
  • TIP: if you want these to look very neat and more painted on rather than squeezed onto the ghost, you can squeeze some gel out on to your surface and use a brush with a tiny bit of water.
Disclaimer: I was sent ingredients from Dr Oetker to create this recipe. A positive review was not required and all opinions expressed are my own. This is not a sponsored post and I paid for the remaining ingredients myself. 

Friday, 24 October 2014

Chocolate Candy Cake

Floating M&M cake

This is a choc-a-holic's dream cake. It's a 2 layer chocolate sour cream cake covered with chocolate ganache with a layer of chocolate ganache in the middle. It is surrounded by Kit Kat's and topped with Maltesers and peanut M&M's. The best part is that it is designed to look as if the chocolates are pouring down on to the cake. The inspiration was actually a challenge by my friend who saw it on the internet and challenged me to make a similar cake. It was a work colleague's leaving do and it's getting close to Halloween so I decided to give it a go. 

I had fun constructing this cake even though it was a little frustrating at times. I used drinking straws to suspend the chocolate wrappers but you can also use long lollipop sticks. I used chocolate ganache as my 'glue' to stick the sweets to the straw and to hold the wrappers in place. The malteser half was very easy to build in comparison to the peanut M&M's. I think they are too heavy and too awkwardly shaped. I'll try regular M&M's next time or Mint Aero's. 

Everyone was really impressed with the cake, myself included! It was tricky to slice as the maltesers and M&M's scattered everywhere so make sure you are prepared. The cake was rich and chocolatey and the chocolate ganache was absolutely divine. 

I'm entering this to We Should Cocoa hosted by Hannah from Honey & Dough on behalf of Choclette from Chocolate Log Blog. The theme this month is Halloween and this would be perfect for a Halloween party. It's not scary but it's definitely very chocolatey and perfect for a celebration. 


For a similar reason, I am also entering it to Let's Cook for Halloween hosted by Nayna from Simply Food.


It's also going to Bake of the Week hosted by Helen from Casa Castello. 


Finally to Cook Blog Share hosted by Lucy from Supergolden Bakes.


 I ended up using 32 Kit Kat fingers, 500g peanut M&M's, 360g Maltesers and 660g of chocolate for this recipe! 

 cook chocolate, butter and cocoa powder with some water

 whisk chocolate mixture into the flour mixture

 add in the eggs

 whisk in the sour cream

 sandwich and cover with chocolate ganache - don't worry if it's messy, it will all be covered

 arrange the Kit Kat fingers around the outside leaving a gap in the front 

 place 2 drinking straws and adjust the height if needed (I had to push my straws in as it would not fit into my cake box otherwise) 

 Building up the cake 

 almost there...

floating malteser cake Looking good

Floating Malteser cake It survived overnight! 

For the cake 
250g plain four
45g cocoa powder
60g dark chocolate pieces
225g butter
1 cup water
300g sugar
2 eggs
1.5 teaspoon bicarbonate of soda
1 cup water
1/2 cup sour cream
1 teaspoon vanilla extract

For the chocolate ganache
300mls double cream
600g dark chocolate 

For the decorations
32 Kit Kat fingers
360g Maltesers
500g Peanut M&M's
2 drinking straws
  • Preheat the oven to 180C.
  • Grease and line 2 sandwich tins. 
  • Place the butter, cocoa powder, chocolate and water to cook over a medium heat.
  • In a separate bowl, whisk the flour, bicarbonate of soda and sugar together.
  • Carefully add half the melted chocolate mixture to the dry ingredients and whisk. 
  • Add the eggs one at a time and continue whisking. 
  • Then add the sour cream and vanilla extract.
  • Divide the batter between the two cake tins (I weigh mine to make sure that it's even) and bake for approximately 20-25 minutes or until cooked and a skewer inserted into the centre comes out clean.
  • Allow the cake to cool completely before decorating. 
  • Make the chocolate ganache by heating the double cream in a small pot.
  • Once it's almost boiling, remove from the heat and stir in the chocolate.
  • Continue stirring until the chocolate has melted.
  • Whisk the mixture until smooth and glossy. 
  • Allow it to set at room temperature before using. If it starts getting solid then just warm it in the microwave to the desired consistency.
  • Decorate the cake as shown above.


Wednesday, 16 October 2013

Candy Corn Oreo Brownies


This is the first of my planned Halloween bakes this month. I love Halloween and try and bake something different each year. On my recent trip to America, I came across these limited edition candy corn oreos and decided to incorporate them into a brownie. I used my favourite fudgy brownie recipe and it worked a treat. The brownies have a crisp edge with a fudgy, gooey centre and the candy corn oreos add colour and crunch. These were given away as a gift and were very well received.

I'm entering this to several challenges this month. Firstly to AlphaBakes which I am hosting this month and co-host with Caroline from Caroline Makes. The letter is C for Candy Corn Oreo.


I'm also sending this to Treat Petite hosted by Stuart from Cakeyboi and Kat from The Baking Explorer. The theme this month is Halloween.


And to Calendar Cakes hosted by Rachel from Dolly Bakes and Laura from Laura Loves Cakes. The theme this month is also Halloween.

And to another new challenge this month called Flavors of USA hosted by Emma from Souperior and Nayna of Simply Food. These candy corn oreos came from America so I think this is quite fitting.


Addendum 31/10/13
I'm also sending this to Let's Celebrate Halloween on Just Not the Cakes which is hosted by Shey who asks us to link up any Halloween related recipe.


Addendum 22/11/13 - I've been awarded the best recipe award for the event "Let's Celebrate Halloween" - thank you!


 candy corn oreos 

 stir in sugar to melted chocolate and butter 

 whisk in the eggs 

 adding the candy corn oreos 

 ready to go in the oven

 freshly baked 

 yum! 

200g butter, chopped into smallish cubes
375g sugar
170g chocolate, roughly chopped
165g flour
80g cocoa powder
1/2 teaspoon salt
2 teaspoons vanilla extract
4 eggs
approximately 17 Candy Corn oreo cookies (plus extra to munch on whilst baking), roughly chopped.
  • Preheat the oven to 180C.
  • In a medium sized pan, melt the butter and chocolate.
  • Then whisk in the sugar, salt and vanilla extract. 
  • Continue mixing until you get a smooth mixture then remove from heat and set aside for a few minutes.
  • Whisk in the eggs one at a time and then the flour and cocoa powder until you get a fudgy mixture as shown. 
  • Stir in 12 of the chopped candy corn oreos, reserving the rest to sprinkle on top.
  • Pour the mixture into a square baking pan and sprinkle the remaining 5 chopped candy corn oreos on top. 
  • Bake for approximately 30-35 minutes until the top is crisp and the edges are cooked. 
  • Allow to cool in the pan. 
  • Slice and enjoy!

Wednesday, 31 October 2012

Halloween Cupcakes 2012


I love Halloween baking and really went all out last year. I was planning a few different things this year but time ran away from me so here's my last minute attempt. Red Velvet Eyeball Cupcakes and Chocolate Pumpkin Patch with Wriggly Worms. It's late and I'm too tired to think of cool names! 

The cupcakes were fairly easy to make and you don't need a lot of specialist equipment. I made a batch of red velvet cupcakes (12) and a batch of chocolate cupcakes (18). The frosting was enough to frost all 30 cupcakes! (Click on the links for the recipe).  The frosting was from the red velvet cupcake recipe - I frosted the red velvet cupcakes first and then added 50g melted chocolate to the remaining frosting for the chocolate cupcakes. 

As these are for Halloween, I'm entering them to Calendar Cakes hosted by Rachel from Dolly Bakes and co-hosted by Laura from Laura Loves Cakes


 red velvet cupcakes - nice and red but bits of batter that I didn't mix properly -oops! 

 covered with cream cheese frosting 

 pipe a small circle of green frosting then fill with an M&M for the eyes

 I bought a tube of Wilton red decorating gel 


 to create bloody eyeballs.. spooky! 

 chocolate cupcakes 

 covered in chocolate cream cheese frosting 

 crushed oreo cookie crumbs and Jelly worms for decoration 


 I also decided to make some little pumpkins from ready rolled orange icing and a green tic tac. I used a toothpick to make the indentations on the side. 


Happy Halloween Everyone!