Showing posts with label cream. Show all posts

Sunday, 16 August 2015

Peanut Butter and Golden Oreo No Bake Squares


I love Oreo cookies and there are quite a few recipes using Oreo cookies on my blog. My favourites are the mint oreos and peanut butter oreos which I can only buy in America or at a huge cost and effort in UK. I was ecstatic to find out that Oreo have launched 2 new flavours in the UK and they are available in most major supermarkets. The flavours are Peanut Butter and Golden Oreo. I saw them at Asda recently and they are only 50p a pack! I couldn't help myself and bought a few packets so look out for more recipes!

I was sent 2 packs each of Peanut Butter Oreos and Golden Oreos to try. The Peanut Butter ones have the classic chocolate biscuit and a peanut butter filling whereas the Golden Oreos have a sweet golden biscuit and a vanilla creme filling. I love peanut butter but I actually prefer the golden oreos to the peanut butter oreos. Go figure! 


 Golden Oreos and Peanut Butter Oreos 

I decided to make a quick and easy no bake recipe with the oreo cookies. I'ts based on my mini peanut butter oreo cheesecake recipe which I said was the best dessert I've eaten! The base is made of peanut butter oreos which is filled with a cream cheese, peanut butter and cream filling and topped with a Golden Oreo. It's absolutely delicious particularly if you like peanut butter. It's really simple to put together and only requires 6 ingredients. 


 I used my individual brownie pain and placed strips of parchment paper in a cross fashion so it's easier to remove the squares later. 

 This recipe only makes 10 squares - this is the peanut butter oreo biscuit base 

 Fill with peanut butter filling 

 Top with a Golden Oreo

Makes 10 squares as shown

1 pack peanut butter oreos (14 biscuits)
10 golden oreo biscuits
50g butter, melted 
180g cream cheese
90g smooth peanut butter
70g caster sugar
90mls double cream

  • Prepare the individual brownie pan as shown. Alternatively you can use a large rectangle pan and cut into squares. 
  • Blitz the peanut butter oreos into crumbs or place in a sealed bag and bash with a rolling pin.
  • Mix the cookie crumbs with 50g melted butter. 
  • Place 1 - 2 tablespoons of cookie crumbs into each square and press down. 
  • Place in the fridge to set whilst you make the filling. You can also put it in the freezer if you are in a hurry.
  • To make the filling, beat the cream until stiff and set aside.
  • Next, beat the peanut butter, cream cheese and sugar until smooth.
  • Add in the beaten cream and stir. 
  • Spread an even layer of the filling on top of each cookie base. 
  • Refrigerate for a few hours or overnight.
  • Before serving, place a golden oreo on top of each square. 

Disclaimer:  I was sent Peanut Butter Oreos and Golden Oreos for review purposes. A positive review was not required and all opinions are my own. This is not a sponsored post. 

Sunday, 21 June 2015

Dark Chocolate Salted Caramel Oreo Pie


Hi everyone. Sorry for the long absence. It's just been crazy busy lately with lots going on. I will be posting less for the next few months until things settle down but will still continue to co-host AlphaBakes with Caroline. I do appreciate the loyalty from my regular readers and still enjoy reading all your posts when I can. 

I've been wanting to make this for a while so I'm really pleased that I got the chance recently and I can tell you that it was well worth the wait. It's a very rich, decadent dessert and you only need a small slice. It has an oreo biscuit base, covered with homemade caramel and topped with rich, dark chocolate ganache and a generous sprinkling of sea salt. It's a no bake recipe but it does take some time as each layer has to set before you put the next layer on. I used Hans Sloane Ecuador 70% chocolate beads and it worked beautifully in this recipe as it gave the pie the rich, dark chocolate taste which paired well with the sea salt flakes and caramel. If you use a sweeter chocolate then the pie will be too sweet and you won't get the lovely contrast.

I'm sending this to AlphaBakes hosted by Caroline from Caroline Makes. The letter this  month is O for Oreo cookies.


Cook Blog Share hosted by Lucy from Supergolden Bakes.


Recipe of the Week hosted by Emily from A Mummy Too.


Tasty Tuesdays hosted by Vicki from Honest Mum.


 only 5 ingredients required - brown sugar, double cream, chocolate beads or chocolate chips, butter and oreo cookies 

 oreo cookie base 

 making the caramel 

 caramel is almot ready!


 look at that lovely caramel 

 the smudge is from the cling film before the caramel set 

 luckily it's covered in a thick layer of chocolate ganache 

 served with fresh raspberries and raspberry ripple ice cream 


Makes 1 large 10 inch pie

For the base
2 packs of 154g Oreo cookies
100g butter

For the caramel
260g light brown sugar
225g butter
120 mlsdouble cream

For the chocolate ganache
250ml double cream
340g Hans Sloane Ecuador 70% chocolate beads

To serve
Sea salt flakes
Fresh raspberries
Raspberry ripple ice cream


  • Start by making the oreo base - place the oreo cookies in a food processor and blitz until it resembles fine breadcrumbs.
  • Add the butter and pulse briefly.
  • Spread the oreo base on the pie tin and smooth out the top making sure that the base goes up the side of the dish as shown.
  • Place in the freezer for 10-15 minutes to set.
  • In the meantime, make the caramel by placing the butter and brown sugar in a medium sized pan.
  • Heat gently over a medium heat until bubbles start to form. 
  • Remove from the heat and leave for 1 minute.
  • Gently whisk in the double cream and continue whisking until the caramel is smooth.
  • Set aside to cool for at least 15-20 minutes.
  • Take the oreo base out of the freezer and pour the caramel layer on top.
  • Return to the freezer for 20-30minutes to set.
  • Make the chocolate ganache by gently heating the cream until it just bubbles.
  • Remove from the heat and stir in the chocolate beads.
  • Continue stirring until the mixture is smooth.
  • Remove the oreo pie from the freezer and pour the chocolate ganache on top.
  • Refrigerate until set.
  • Before serving, add a generous sprinkle of sea salt on top of the pie.
  • Slice and serve with fresh raspberries and a scoop of ice cream. 

Disclaimer: I was sent some Hans Sloane drinking chocolate beads for review purposes to create a recipe. A positive review was not required and all opinions expressed are my own. This is not a sponsored post.

Friday, 17 April 2015

Lemon Posset with Fresh Strawberries


Hurrah for Friday! It's been a long busy week and I'm really looking forward to the weekend. This is a really quick and easy dessert to make. I had some leftover double cream that was near exipiring so I did a quick search on google and came up with lemon posset. This is actually something I wanted to make for my New Year's Day Afternoon Tea but I never got round to it. I also had some fresh strawberries in the fridge so I did a mini layered dessert with fresh strawberries, lemon posset and more fresh strawberries. It was really zingy and fruity and felt quite refreshing despite the cream in there. 

I'm sending this to No Waste Food Challenge hosted by Elizabeth from Elizabeth's Kitchen Diary. I used up leftover cream that was near expiring and some fresh strawberries for this recipe.


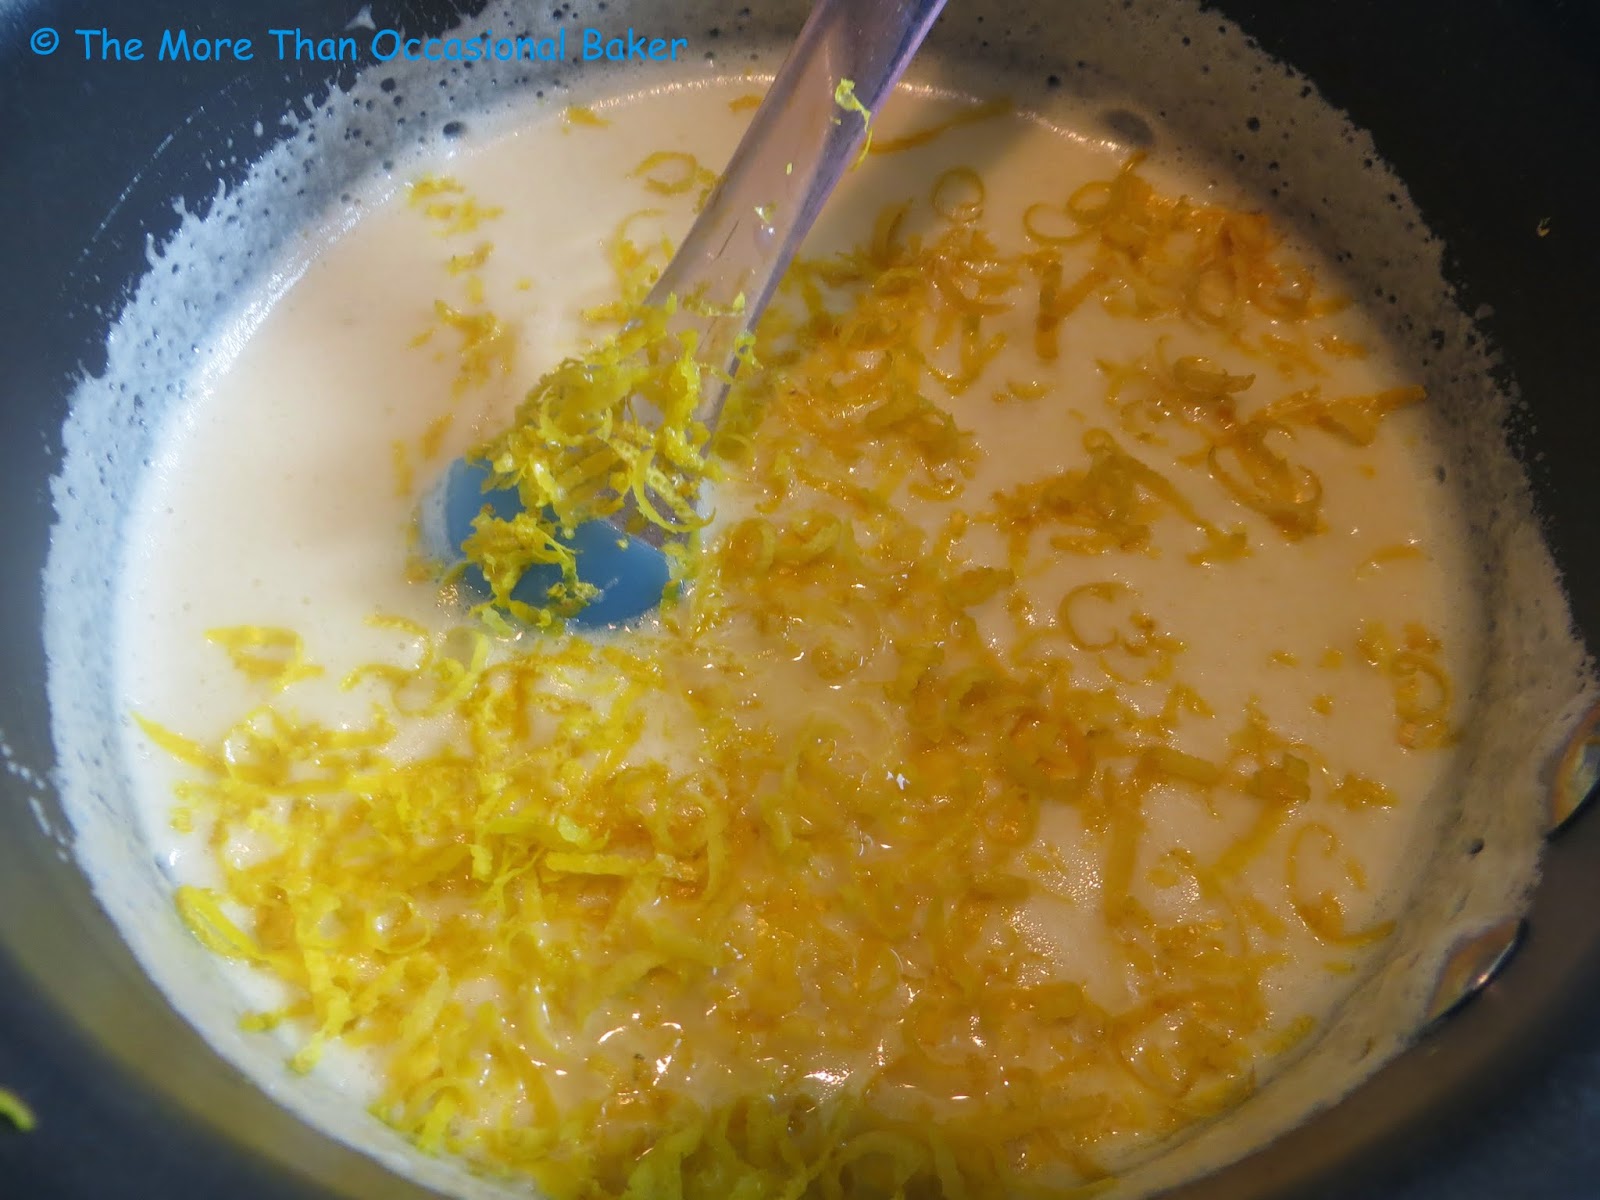
 cooking the lemon posset 


Recipe from BBC Good Food 

600mls double cream
200g golden caster sugar
zest and juice of 3 lemons
fresh strawberries (optional)


  • Place and cream and sugar in a large saucepan and heat gently until the sugar has melted.
  • Simmer gently once the mixture is bubbling and turn off the heat.
  • Add the lemon juice and lemon zest and stir.
  • Allow to cool in the pan before dividing into serving dishes.
  • Chill in the fridge for a few hours or overnight.
  • I placed a layer of chopped strawberries followed by the lemon posset and more fresh strawberries. 


Monday, 13 April 2015

Spinach, Ricotta and Mushroom Quiche


This is one of the tastiest quiches I've made. Although I'm not vegetarian, I have found that the vegetarian quiches tend to taste better than the meat/fish ones. This broccoli and red pepper quiche was a real hit at my Christmas party last year and I've had repeat requests to bake it again. However, this may well trump that as it was just so tasty! I was a little worried about a soggy bottom particularly as the recipe calls for spinach and mushroom - two ingredients that excrete a lot of water whilst cooking. I made sure I strained the spinach well ensuring it was very dry before using in the quiche.  The mushrooms were roasted in the oven first so you can discard any excess water.  The quiche looks very impressive with the large mushrooms on top with the green spinach poking through. The mustard and ricotta worked well and really brought all the flavours together. 

I'm sending this to Extra Veg hosted this month by Jo from Jo's Kitchen on behalf of Helen from Fuss Free Flavours and Michelle from Utterly Scrummy Food For Families.


Cooking with herbs hosted by Karen from Lavender and Lovage as the recipe uses thyme. 

Vegetable Palette hosted by Shaheen from A2K - A Seasonal Veg Table. The theme this month is white vegetables and these large flat mushrooms are definitely white! 


Simple and in Season hosted by Helen from Fuss Free Flavours on behalf of Ren. Spinach is available all year round but it's in season in spring. 


 mix the ricotta cheese with grainy mustard 

 spread cheese/mustard layer on the bottom of the quiche 

 add the cooked and strained spinach 

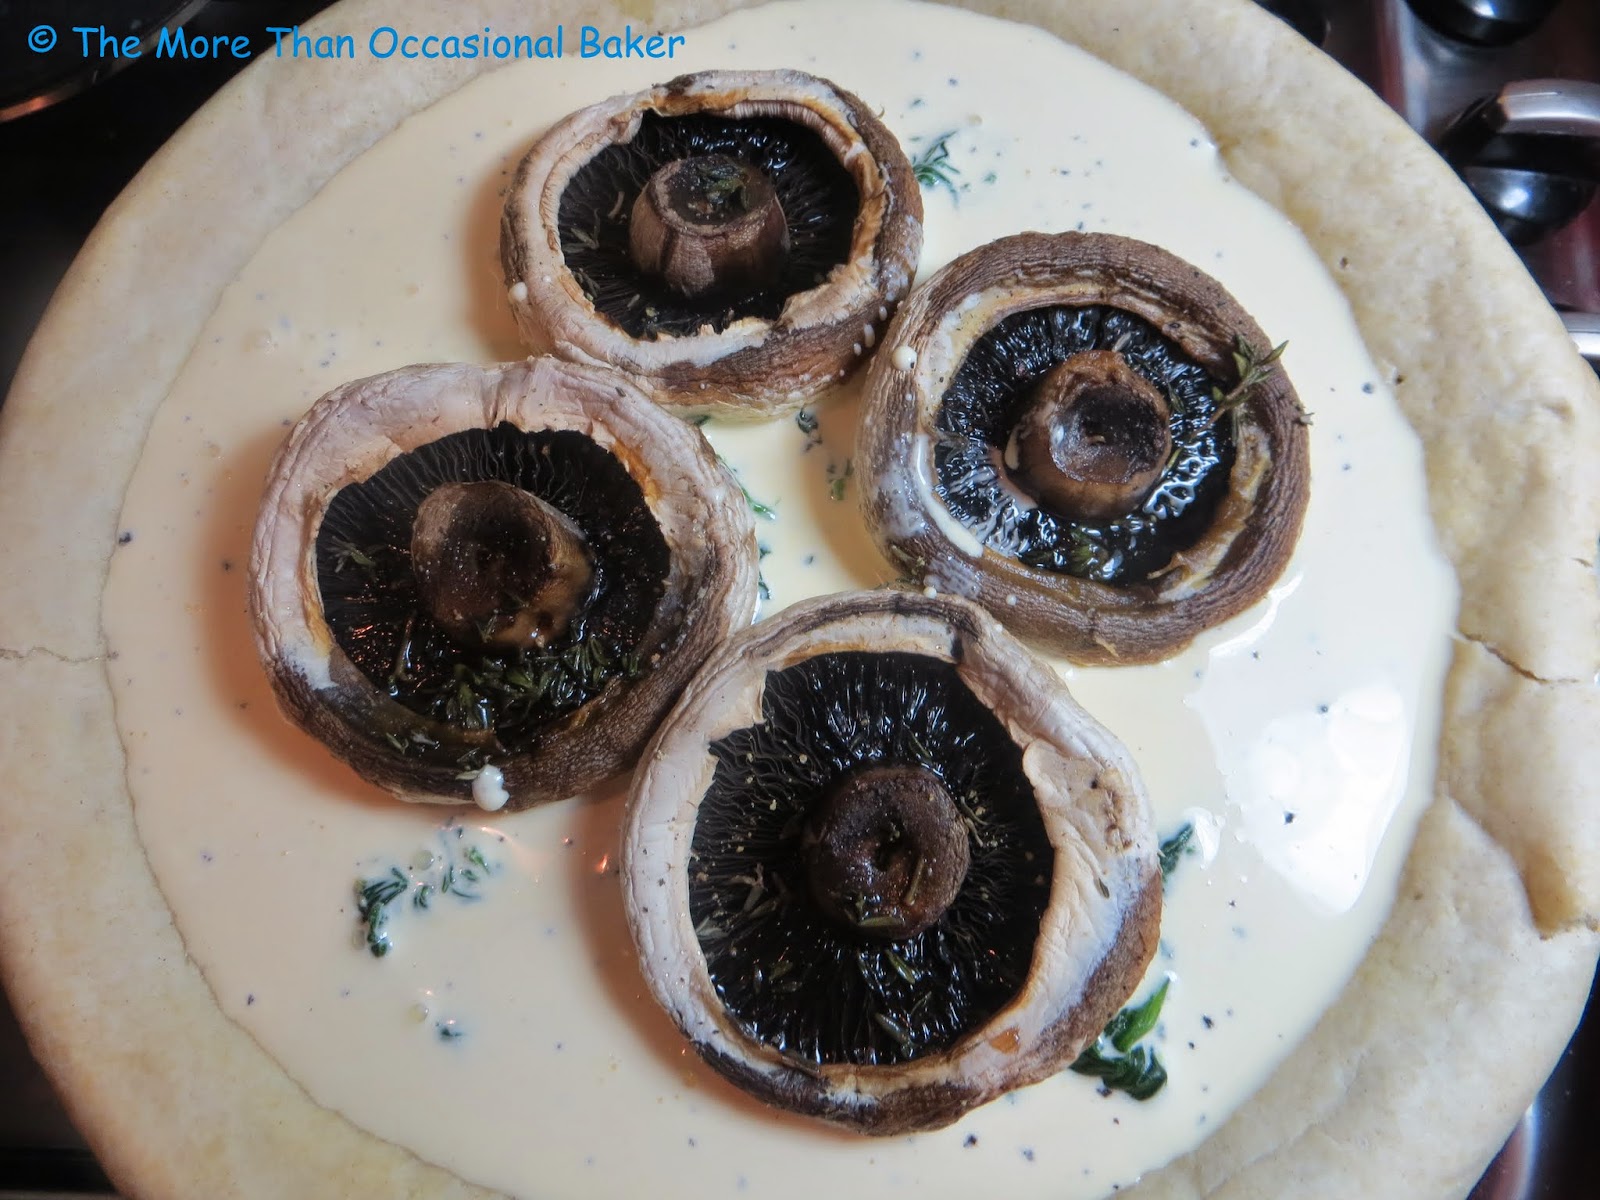
 arrange the flat mushrooms on top 

 pour in the cream/egg mixture 

 Ready to eat! I took this to work so I don't have any pictures of the cut slice. 

Recipe adapted slightly from BBC Food which is a James Martin recipe from Saturday Kitchen

For the pastry (or use ready made)
280g plain flour, plus extra for dusting
140g cold butter, cut into pieces
8 tablespoons cold water

For the filling
4 large flat mushrooms 
Handful of thyme leaves
400g spinach leaves
250g ricotta cheese 
1 tablespoon grainy mustard
3 egg yolks
300ml double cream 
salt and pepper
  • To make the pastry using a food processor - place the flour and butter and blitz until it resembles breadcrumbs. Slowly add the water one tablespoon at a time until a dough forms. 
  • Alternatively, rub the butter and flour together until it resembles breadcrumbs. Slowly add water one tablespoon at a time until a dough forms. 
  • Roll into a ball, wrap with clingfilm and chill in the fridge for at least 30 minutes before baking. 
  • Roll out the pastry on a lightly floured surface and line your tart tin. 
  • Use a small ball of pastry scrap to press the pastry into the corners of the tin. 
  • Chill in the fridge for 15-20 minutes.
  • Preheat the oven to 200C.
  • Line the tart case with kitchen foil or baking paper and fill with baking beans. 
  • Blind bake for 20 minutes, then remove the beans and foil/paper and continue baking for 5 - 10 minutes until the pastry is light brown.
  • Grease a 25cm/10in loose-bottomed tart tin with butter.
  • At the same time, place the mushrooms onto a baking tray and sprinkle with thyme leaves. 
  • Drizzle lightly with olive oil and season with salt and pepper.
  • Bake in the oven for 6-8 minutes or until they start to soften and excrete water. Discard any excess water.
  • Bring a large pan of water to boil and add a tablepoon of olive oil. Add the spinach and cook until it's just wilted.
  • Drain twice and press with a paper towel to ensure that the spinach is dry. Season with salt and pepper. 
  • Place the ricotta into a bowl and stir in the grainy mustard. 
  • Spoon the mustard and ricotta mixture into the bottom of the tart case, top with the wilted spinach, and carefully place the roasted mushrooms on top.
  • Place the egg yolks and cream into a bowl and whisk until mixed. 
  • Pour this mixture into the tart case.
  • Bake for approximately 40 minutes or until it's golden brown and gently bubbling.
  • Allow to cool before slicing. 

Saturday, 14 March 2015

No Bake Nutella Cheesecake


This is a really quick and easy no bake recipe. It has a creamy Nutella cream cheese filling and an oreo cookie base. I served it with grated chocolate and fresh strawberries. It is absolutely delicious and I'd eat this everyday if I could! It's full of stuff that's bad for you which is probably why it tastes so good!

I used up lots of leftovers for this recipe which is sort of how it came about. I had an open packet of oreo biscuits from making my Valentine Penguin Oreos. I also had an opened jar of Nutella from recent bakes and a tub of cream cheese that was near expiry. Therefore I am sending this to the No Waste Food Challenge hosted by Elizabeth from Elizabeth's Kitchen Diary.


 I love my new set of glass dishes which I saw on Kate's blog and she told me she got them from Ikea. Thanks Kate! 


The recipe is slightly made up and I can't remember the exact amounts!

Roughly 8 or 10 oreo cookies, crushed
approximately 30g butter, melted (might need more)
200g cream cheese
50g icing sugar
200mls double cream (could add a little more if you prefer)
approximately 150g - 200g Nutella (or add as much as you like!)


  • Place the oreo cookies in a ziplock bag and bash with a rolling pin. Alternatively you can blitz it in a food processor. 
  • Place the butter in a small bowl and melt in the microwave. 
  • Stir the butter into the crushed cookies.You may need a little more butter if the mixture is too dry.
  • Press the oreo butter mixture into the bottom of your serving dish and level with a spoon. 
  • Place in the fridge to set for at least 30 minutes.
  • Meanwhile beat the cream until stiff peaks form. Scoop into a large bowl and set aside. 
  • Next beat the cream cheese and icing sugar.
  • Add in the nutella and continue beating. 
  • Now spoon the mixture out into your bowl of whipped cream and mix with a spoon until smooth (don't use the mixer at this stage or the cream might split)
  • Spoon the Nutella/cream cheese mixture on top of the cookie base and leave to chill in the fridge.
  • Decorate with grated chocolate and fresh strawberries. 


Saturday, 21 February 2015

2 ingredient Nutella Mousse


Recently I've been on a real Nutella craze. I baked Nutella Ferrero Brownies earlier in the month. On shrove Tuesday, I had pancakes with Nutella. I then saw a recipe for 2 ingredient Nutella mousse and 2 ingredient Nutella brownie. It's been a really long and busy week and I felt we needed a little treat. I definitely did not have the time or energy to bake anything so I decided to give the 2 ingredient Nutella mousse a try. J thought it was amazing. He kept smiling and saying "this is really good" after each spoonful. It was very creamy, rich and nutty. It was a little on the sweet side so it helped that we served it with blackberries which are a little tart. I wanted strawberries but there were none in the shop. The recipe says to chill for 6 hours or preferably overnight. I whipped these up and put them in the freezer for about an hour and it was perfect. It had a nice, smooth creamy texture as you would get with a normal mousse. 

 Nutella and double cream 

 I addeda sprinkling of grated chocolate on top and fresh blackberries 


 Lovely, smooth creamy texture 

Recipe adapted from kidspot kitchen
Makes 2 portions

150mls double cream
1/4 cup nutella

Beat the cream until it holds it shape.
Add in the nutella and continue beating until smooth.
Divide into 2 serving bowls.
Refrigerate for 6 hours or overnight or if you just can't wait like me, pop them in the freezer for an hour and serve. 

Tuesday, 3 February 2015

Churros with Chocolate Sauce


I've never made my own churros until now and I'm wondering why I waited so long. The main reason is because I don't like deep frying in my kitchen and very rarely deep fry anything especially since I bought my air fryer which is amazing. However, we had a Mexican night recently and used some recipes from Wahaca. We made the Mexican slaw, crispy fish fajitas and sweetcorn & chorizo fritters. I decided to make some churros for dessert and as we had to deep fry the fish I managed to re-use the oil. For obvious reasons, I cooked the churros first and then fried the fish in the same oil which was then discarded. 

I found a recipe from Nigella.com which is a recipe from Mexican Food Made Easy by Thomasina Miers - perfect! It's a really simple recipe and it worked beautifully. The churros were light and crispy and the chocolate sauce was to die for. The frying part was not too difficult or messy which I was worried about. I'll definitely be making this recipe again and I think it will be cute to make mini churros. 

 vegetable oil, self raising flour, caster sugar, ground cinnamon, olive oil, golden syrup, dark chocolate, milk chocolate and double cream 

 dough on left and the cinnamon sugar on the right 

 frying the churos 

 almost ready 

 naked churros

 with a generous sprinkling of cinnamon sugar 

 Dipped in heavenly chocolate sauce 

Recipe can be found online here