
Hi everyone! I'm back in London safe and sound. I have been meaning to update my blog for days now but have not gotten round to it. Sorry! It's been quite hectic since my return - catching up with friends, dealing with admin and more importantly looking for a new place to stay. I found a lovely new place and will be moving in this weekend so will be offline until I can get myself set up. Normal blogging services will resume after a few weeks.
This is a special cake that I made for my brother's birthday a few weeks ago. He loves dogs so the obvious choice was a dog cake. The family pet dog is a silky terrier but my cake decorating skills won't stretch that far so this is what I came up with. Glad he loved the cake!
 family pet dog
I have to thank Daisy from Never Too Sweet who suggested I look at Not Quite Nigella's blog for inspiration. I had actually bookmarked the recipe but forgot about it when I was deciding how to make a dog cake. If you used a bit of imagination you could say there is a resemblance between the dog and the cake :)
I'm submitting this to AlphaBakes a monthly blogging challenge hosted on alternate months by Caroline from Caroline Makes and myself. The letter this month is "D" for Dog cake.

 easy swiss roll recipe from my aunt - thank you
  perfect roll - phew! :)
 adding cupcakes for the head, tail and ears.
 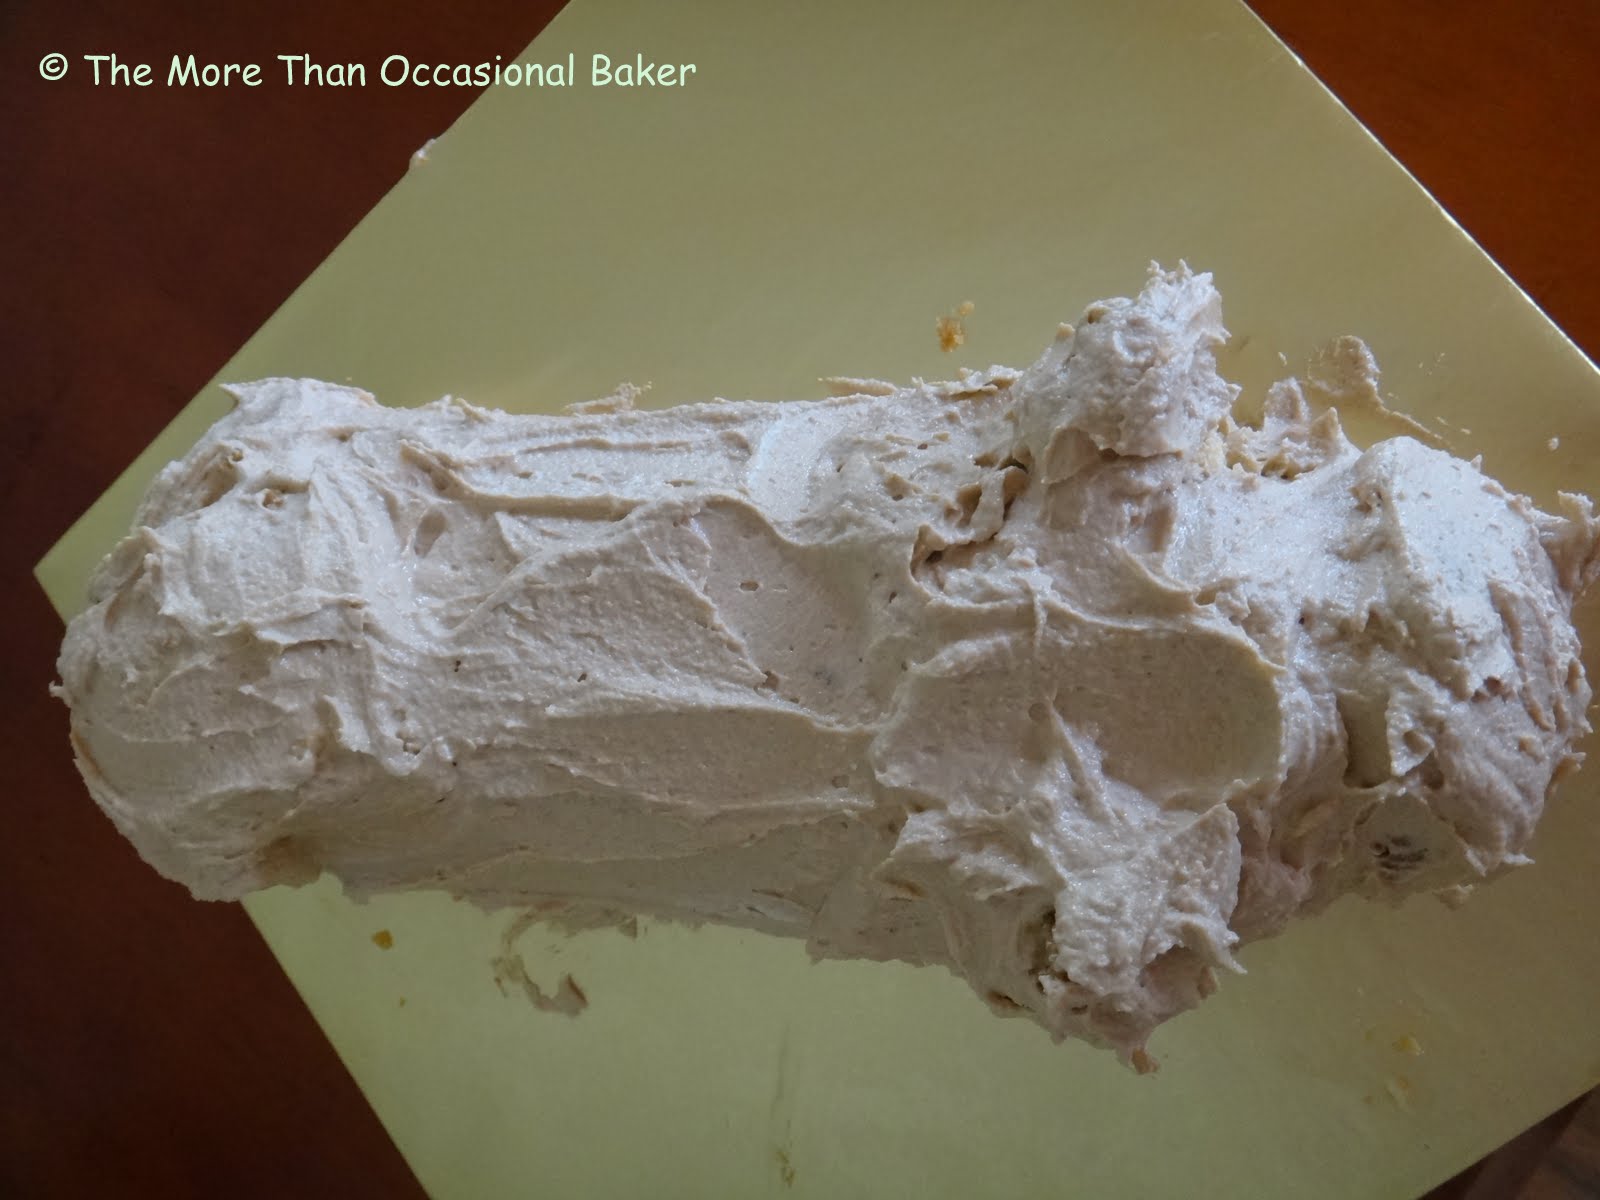 cover in frosting
  use a grass tip to pipe "fur" over the dog
For the face you will need 2 giant chocolate buttons, 3 M&M's and a piece of strawberry rollup cut to shape.
I made some additional decorations using a candy mould I found - bone, food bowl, dog house and puppy. I also coloured dessicated coconut green to resemble grass.  cross section of the swiss roll
For the swiss roll
4 large eggs, separated
60g self raising flour
55g caster sugar
1/4 cup milk
1/4 cup sunflower oil
1/4 teaspoon cream of tartar- Preheat the oven to 180C.
- Beat egg whites with cream of tartar until stiff.
- In a separate bowl, mix the egg yolks, sugar, milk, oil and flour until smooth.
- Fold into the egg white mixture and spread onto a swiss roll tin.
- Bake for 14 minutes.
- Spread jam or cream and roll into a swiss roll.
For the peanut butter cupcakes
Makes 12 cupcakes
75g butter
130g smooth peanut butter
190g dark brown sugar
2 large eggs
1 teaspoon vanilla extract
120g plain flour, sifted
1 teaspoon baking powder
pinch of salt
60ml semi-skimmed milk
- Preheat the oven to 160C.
- Line a 12-hole muffin tray with cupcake cases.
- Cream the butter, peanut butter and sugar until well blended.
- Add the eggs, one at a time and then stir in the vanilla extract.
- Combine the flour, salt and baking powder in a separate bowl.
- Add 1/3 of the flour to the creamed mixture and beat well.
- Pour 1/3 of the milk and beat again.
- Repeat until all the flour and milk have been added.
- Spoon the mixture into the cupcake cases - I used a large ice cream scoop.
- Bake for approximately 20 minutes or until a skewer inserted into the centre comes out clean.


