Saturday, 29 November 2014

AlphaBakes "H" Roundup


Welcome to November's "H" AlphaBakes round up. It's been a busy month for me and I'm guessing it's also been a busy month for most of you as we had less entries than usual. Thank you to everyone who took the time to enter. I've chosen a winner at random from all eligible entries for our prize this month which is a copy of 500 Cupcakes by Fergal Connolly & Judith Fertig sponsored by Quarto Publishing. Read to the end to find out who the lucky winner is. 

Jean from Baking with Franglais made a hazelnut, plum and chocolate cake. It's a recipe from the BBC Good Food website for their October Clandestine Cake Club in Loire Valley as the theme was "a taste of autumn". French plums and hazelnuts were the seasonal ingredients and the flavour combination worked beautifully. It's certainly a very impressive looking cake and is quite easy to make. 


Kate from the Gluten Free Alchemist made chewy, chocolate, cherry and chili flapjack. The H comes from Hungarian paprika and Hot chili! The chili is subtle and really elevates this traditionally sweet treat. She made 2 batches of this delicious treat, do head on over to her blog to find out why! 


Johanna from Green Gourmet Giraffe made a healthy treat which is gluten free, vegan and full of good oats and seeds. It's a Glo Bar and he H ingredient is hemp seeds. She got this recipe from a fellow blogger, Angela Liddon who blogs at Oh She Glows. I love how she's decorated it which has given me ideas for the future.


Next is my own entry with Hot Chocolate Cupcakes. I chose a recipe from our prize book this month 500 Cupcakes. It's a fairly straightforward recipe with a delicious icing and marshmallow fluff on top.


My co-host Caroline from Caroline Makes made Hershey's Cookies 'n' Creme Pudding. She used a recipe from the Hershey's website and it tasted very creamy and chocolatey.


Laura from I'd Much Rather Bake Than... made Chilli Mayonnaise Brownies using Hellman's Mayonnaise. It's a healthier alternative to traditional brownies as the mayonnaise replaces a lot of the fat and some of the eggs and there's no loss of flavour or satisfaction. It's a lovely chocolatey brownie with a hit of chilli! 


Suelle from Mainly Baking made a cake specifically for AlphaBakes using a Harry Eastwood recipe. It's a Honey Breafkast Fruit Cake which uses finely grated butternut squash to replace much of the fat and it of course contains honey! The cake was delicious with almond being the predominant flavour but you could also taste the honey and the lemon zest.


Kate from the Gluten Free Alchemist is back but with something completely different this time... Homemade Fresh Gluten Free Pasta. Her daughter was diagnosed with Coeliac disease so she has been making all sorts of gluten free recipes and finally decided to try her hand at making her own fresh pasta. She experimented with a few new ingredients and it looks and tastes just like regular pasta. 


Stuart from Cakeyboi shared with us an old recipe but a good recipe nonetheless. The recipe is Honey and Ginger Cookies made with Manuka honey and Root ginger. The cookies are crisp on the outside but soft in the centre and you can clearly taste the honey plus you get little hits of ginger. 


Fiona from Let Them Eat (gluten free, lactose free) Cake! was all set to make an apple butter victoria sponge but she was struck down by a cold. She made these ginger, lemon and honey biscuits instead which she maintains helped cure her cold. They are light and tasty and of course gluten free!


That's the end of the round up. As promised, a winner has been selected at random (names in a hat) and the lucky winner is.... Laura from I'd Much Rather Bake Than...  - congratulations! Remember to check out Caroline's blog on 1st December to find out what letter we are using in December. See you all in January!


Addendum 30/11/14
So sorry I missed out my co-host Caroline from Caroline Makes second entry. Clearly great minds think alike as she also made a hot chocolate cupcake with marshmallow fluff. She served hers in cute tea cup moulds and cupcake cases and topped them with marshmallow fluff and colourful shaped marshmallows. The cupcakes were chocolatey, light and fluffy which closely resembles hot chocolate. 


Tuesday, 25 November 2014

Banana, chili and white chocolate loaf


This sounds like an unusual combination of flavours but trust me it works! Recently, I found my old file of recipes when I was looking for my beer bread recipe. This folder has clippings from magazines, recipes from the back of packets of things, recipes passed to me from my mum and from my friends and photocopies of recipes from books I've borrowed in the past. It's a little treasure trove of recipes which I've not used in years so I had great fun looking through them.

I decided to pick a recipe at random so that I could enter it into Random Recipes hosted by Dom from Belleau Kitchen who has chosen the theme of magazines and clippings this month. My random selection is a recipe from my mum for a banana and white chocolate loaf. I've not made this in years but I remember this loaf being really tasty. It's a simple, no fuss recipe - just bananas and white chocolate. No nuts, dried fruits, yoghurt or honey.


This month's We Should Cocoa challenge this month is chocolate and chili so I thought why not add some chili? We cooked a Thai green curry for dinner so I had some leftover chilies anyway and it was as if it was meant to be. I cooked the chilies in sugar and water, then strained them and added it to the banana loaf. We Should Cocoa is guest hosted by Shaheen from Allotment 2 Kitchen on behalf of Choclette from Chocolate Log Blog. She chose the theme red hot chili for this month and although these are green chilies (I used the red one for the curry!), I hope it's still acceptable. 


I'm also entering this to the No Waste Food Challenge guest hosted this month by Manjiri from Slice off Me on behalf of Elizabeth from Elizabeth's Kitchen Diary. I used up leftover bananas and chilies in this recipe.


The predominant flavour of this loaf is banana - it's quite a wet, dense loaf and the white chocolate chips add a burst of sweetness. The chili kicks in at the end and was not overly spicy. Everyone thought it was delicious and most were intrigued by the taste. I had 2 slices myself as it's just so delicious. I hope you give it a try as it's quick and easy to bake and uses readily available ingredients. Do let me know what you think if you try it.


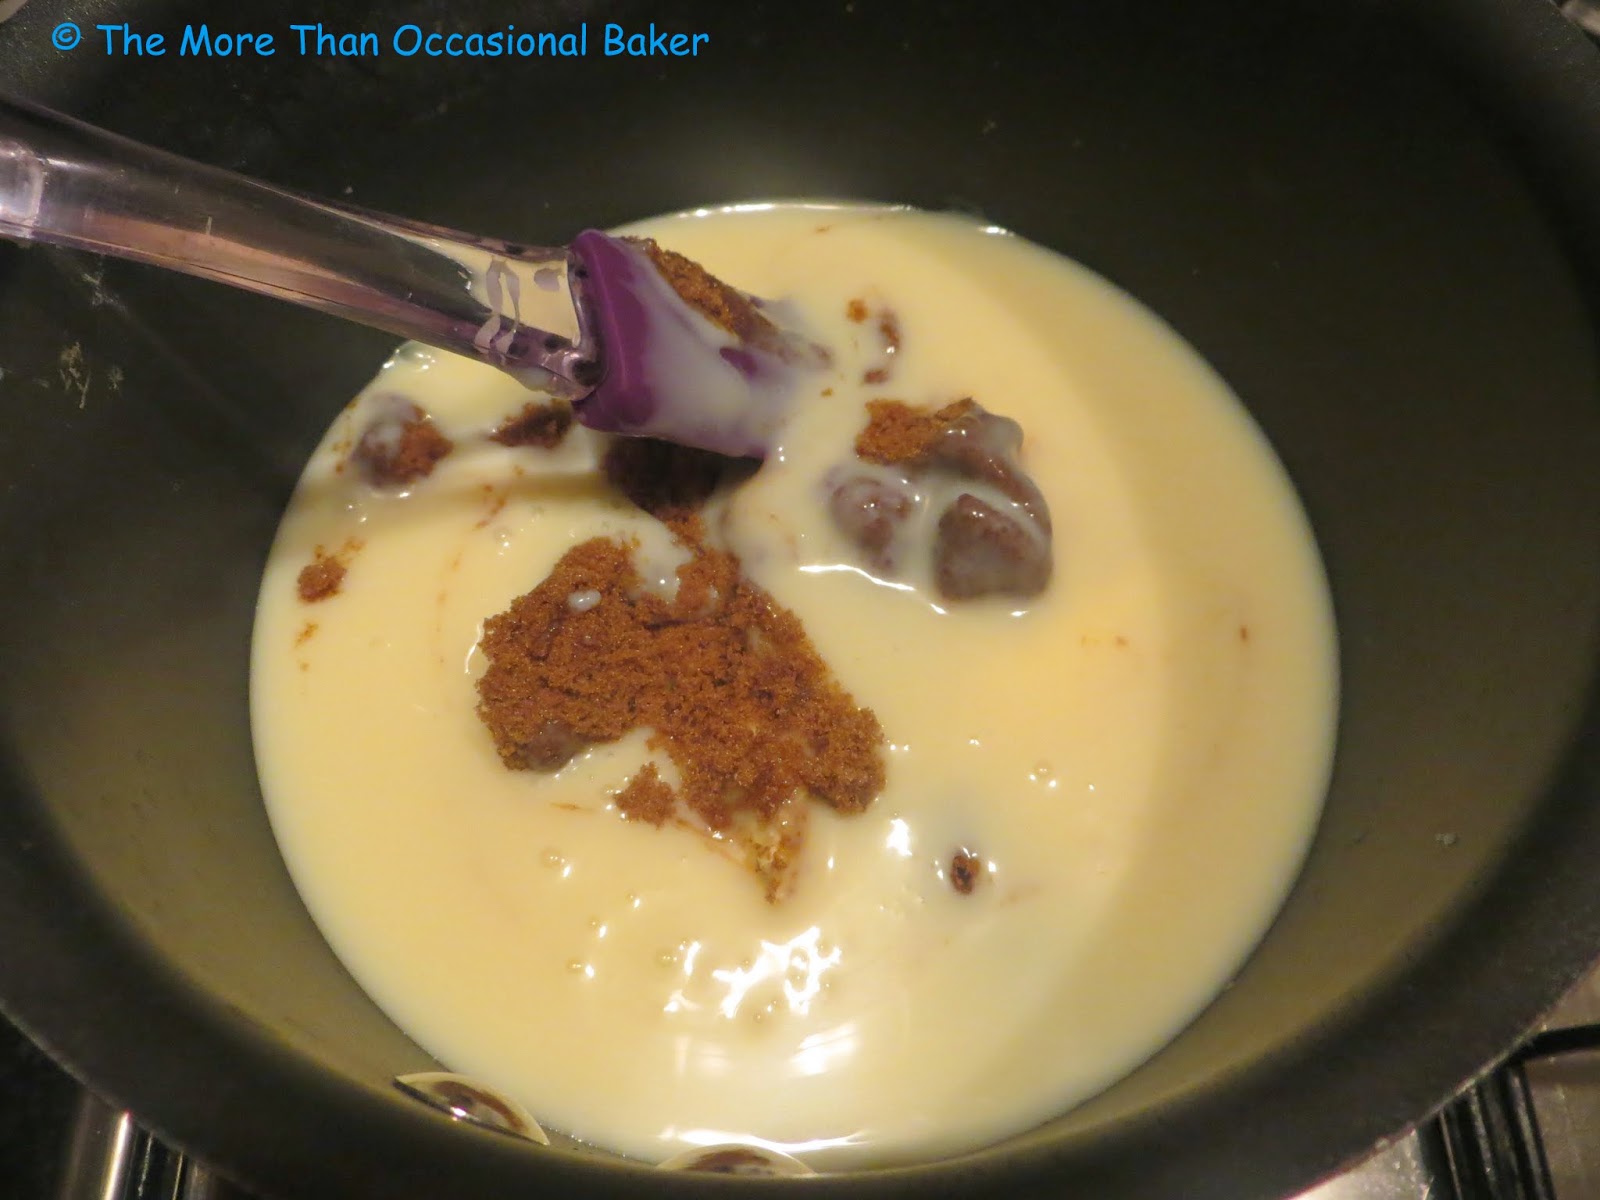
 cook the chilies in sugared water

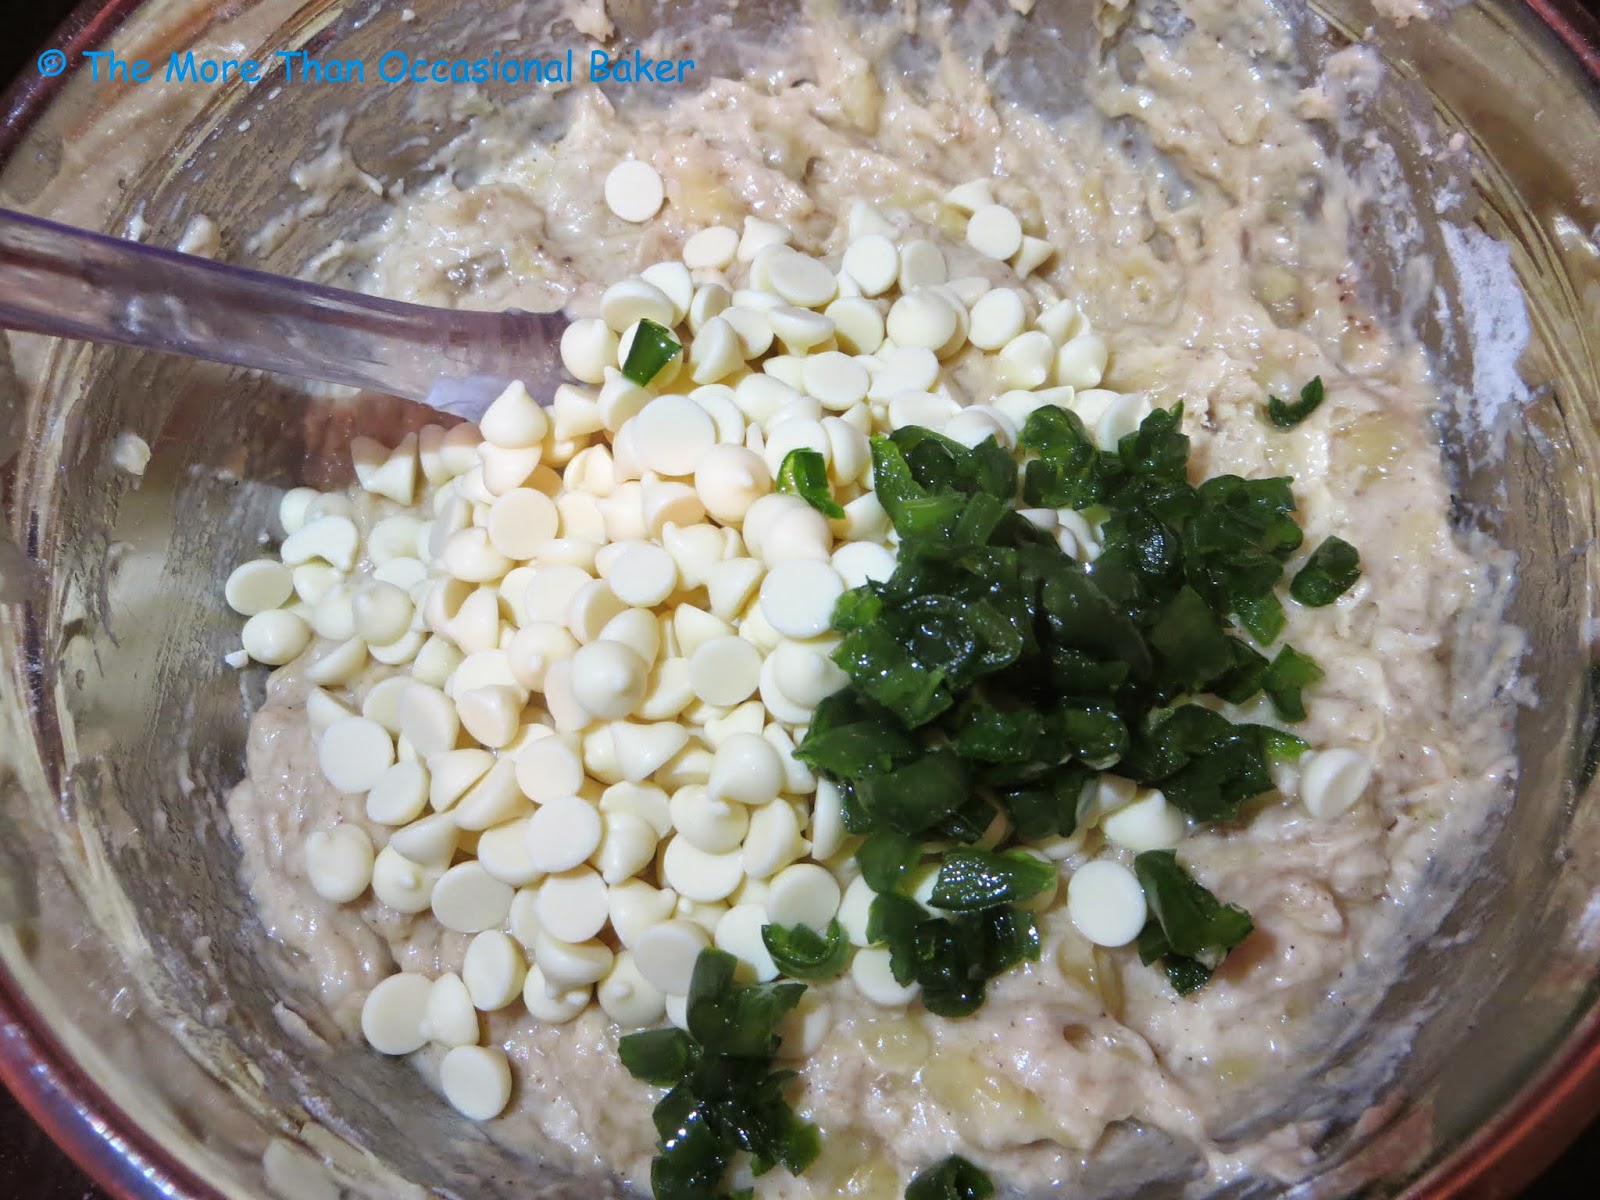
 adding the white chocolate chips and cooked, sweetened chilies

 ready to bake 

 fresh from the oven 

 I love that you can still see the flecks of green from the chilies


Recipe adapted from mum

4 bananas mashed
85g unsalted butter
60g caster sugar
1 egg
170g flour
1 tsp baking powder
1/4 tsp bicarbonate of soda
1/2 tsp ground cinnamon
100g white chocolate chips
3 green chilies cooked in 150mls water and 100g caster sugar then drained.

  • Preheat oven to 180C.
  • Slice the chilies finely, removing the seed in the middle.
  • Measure out 150mls water and 100g caster sugar into a small saucepan. 
  • Add the chopped chillies and bring to the boil then leave to simmer for another 5 minutes.
  • Strain the chillies and set aside. 
  • Beat butter and sugar with a spoon. 
  • Add in the egg. 
  • Sift the flour, baking powder, bicarbonate of soda and cinnamon in a bowl.
  • In a separate bowl, roughly mash the bananas.
  • Add half of the sifted dry ingredients to the butter mixture and stir.
  • Add half the mashed bananas and continue mixing.
  • Finally add in the remaining dry ingredients followed by the mashed bananas.
  • Stir in the chocolate chips and strained, cooked chilies.
  • Pour into a loaf tin and bake for approximately 45 minutes or until golden brown and a skewer inserted into the centre comes out clean. 


Monday, 24 November 2014

SRC: Caramel Apple Shortbread Bars


It's the 4th Monday of the month which can only mean one thing.... It's Secret Recipe Club Group D Reveal day! I love the Secret Recipe Club and look forward to reveal day every month. I had a break last month so it's really good to be back. Just in case you need a reminder about what it's all about - each blog is assigned another blog in secret and the idea is that you choose a recipe to make from your secret blog and reveal it on the same day. It's a great way to discover new blogs and exciting recipes. 

This month my assigned blog is Mom's Test Kitchen writted by Jaime. She describes herself as "a child of God {who requires ALOT of forgiveness}, wife to an automotive genius, momma to a Princess that changed my life, daughter to some pretty alright parents, sister to my best friend & aunt to three kiddos that have me wrapped around their fingers!" You can read more about her and how she got to cooking and blogging here.  She has a lot of great recipes on her blog each accompanied by a beautiful photo. 

I had trouble choosing a recipe as there were so many I wanted to make. I shortlisted a few recipes including No Bake Peanut Butter Cup Chocolate Chip Cookie Pie, Candied Bacon Chocolate Chip Cookies, Blueberry Lemon Crumb Bars and Hot Cocoa Cookies. However, my eye was drawn to this Caramel Apple Shortbread Bars. There's a few steps involved in baking this but it's well worth it. It's absolutely delicious and a perfect autumnal bake. I loved the crispy bit at the edges even though it was a little burnt! I would probably add more apples next time as mine cooked down to not very much and my apples were really small. I love the buttery, crumbly shortbread and the caramel apple filling is divine. I might also add in some spices such as cinnamon and nutmeg as I do love spice in my baking!


 making the base 

 cooking the filling

 spread filling over the base

 add crumble mixture on top 

 burnt round the edges but delicious none the less

 you will notice that there are 2 pieces missing as we couldn't wait to try them! 


For the shortbread layer and crumble topping 
225g butter
112g caster sugar
1/4 teaspoon salt
1 teaspoon vanilla extract
312g plain flour (divided into 280g & 31g)

For the caramel apple filling 
57g butter
1 tablespoon honey
50g dark brown sugar
1 can (14oz) condensed milk
1 teaspoon vanilla extract
3 small apples (Large apples would be better) - peeled, cored and diced 

  • Grease an 8inch x 8 inch pan and line with foil allowing for some overhang (for easy removal later). Spray liberally with non stick spray.
  • Beat buttter, sugar and vanilla until pale and fluffy
  • Add in 280g flour. 
  • Transfer 1/2 of the dough to the prepared baking tray and press down firmly to form the base.
  • Place in the fridge.
  • Add 31g flour to the remaining dough and mix with your hands until it resembles coarse breadcrumbs. This is for the crumble topping later.
  • In a medium saucepan, combine butter, honey, sugar, condensed milk and vanilla and bring to a boil, whisking occasionallu.
  • Add in the diced apples and whisk frequently until the mixture thickens and darkens in colour (approximately 10 minutes).
  • Remove from the heat and allow to cool slightly. 
  • Preheat the oven to 180C. 
  • Remove base from the fridge and pour the caramel apple filling on top.
  • Sprinkle crumble topping and bake for approximately 1 hour.


Friday, 21 November 2014

Cheddar, Cranberry and Honey Beer Bread


Recently I was invited to the BBC Good Food Show by Barber's Cheesemakers. I had the opportunity to meet with Charlie Barber where he told us about the history of Barber's cheese, how to judge a cheese award and anything you want to know about cheese but were too afraid to ask! 


The Barber family have been farming and making cheese at Maryland Farm in Ditcheat, Somerset since 1833. AJ & RG Barber is run by cousins Anthony, Chris, Charlie and Giles Barber, the sixth generation of the Barber family, and many other family members are still involved. Today the Barber farms comprise 2500 acres of prime Somerset dairy land and are home to some 2,000 dairy cows.

Charlie told us how they created their own specialist laboratory with their own microbiologist to grow their own natural starter cultures. These cultures are the friendly bacteria added to the milk to start the cheesemaking process and are the most important ingredient in creating the flavour and character of the finished cheese. Most cheesemakers nowadays use freeze dried starters and they are the only cheesemakers that currently make their own natural starters. They also supply the starters to artisan cheesemakers. They believe that it's the natural cultures that give their cheese a unique complexity of flavours and it's honourable that they are keeping this tradition alive.

We got to taste their signature cheddar cheese, cave aged cheddar, smoked cheese and goat's cheese. We were also introduced to his cousin who gave us a sample of Black Cow Vodka - vodka made from milk of their cows. It has a clean taste at the front and a subtle dairy taste at the end.


cheese awards 


 supergolden cheese awards table - one of their cheeses made it to this table! 

Before I tell you about my recipe, I'd also like to mention a honey beer that I tasted at the BBC Good Food Show. It's made by Hiver who source raw honey from independent British Beekeepers. I'm not a huge fan of beer but this is aboslutely delicious! Don't just take my word for it, try it for yourself and tell me what you think. At present, it's only available through Ocado.


Barber's gave me a block of their vintage cheddar to sample and to create a recipe with. I had a few ideas to start with and after tasting the honey beer, I decided to make a Cheddar and Honey Beer Bread. As it's approaching Christmas, I decided to throw in some cranberries for a festive touch. I based it on an old recipe that has been passed on from a friend who got it from another friend and so on. I've not used this recipe in many years and had to hunt for it! It's a very simple mix all in one recipe. No need for a yeasted dough, kneading or fancy equipment. I added in dried cranberries and chunks of cheddar cheese. 

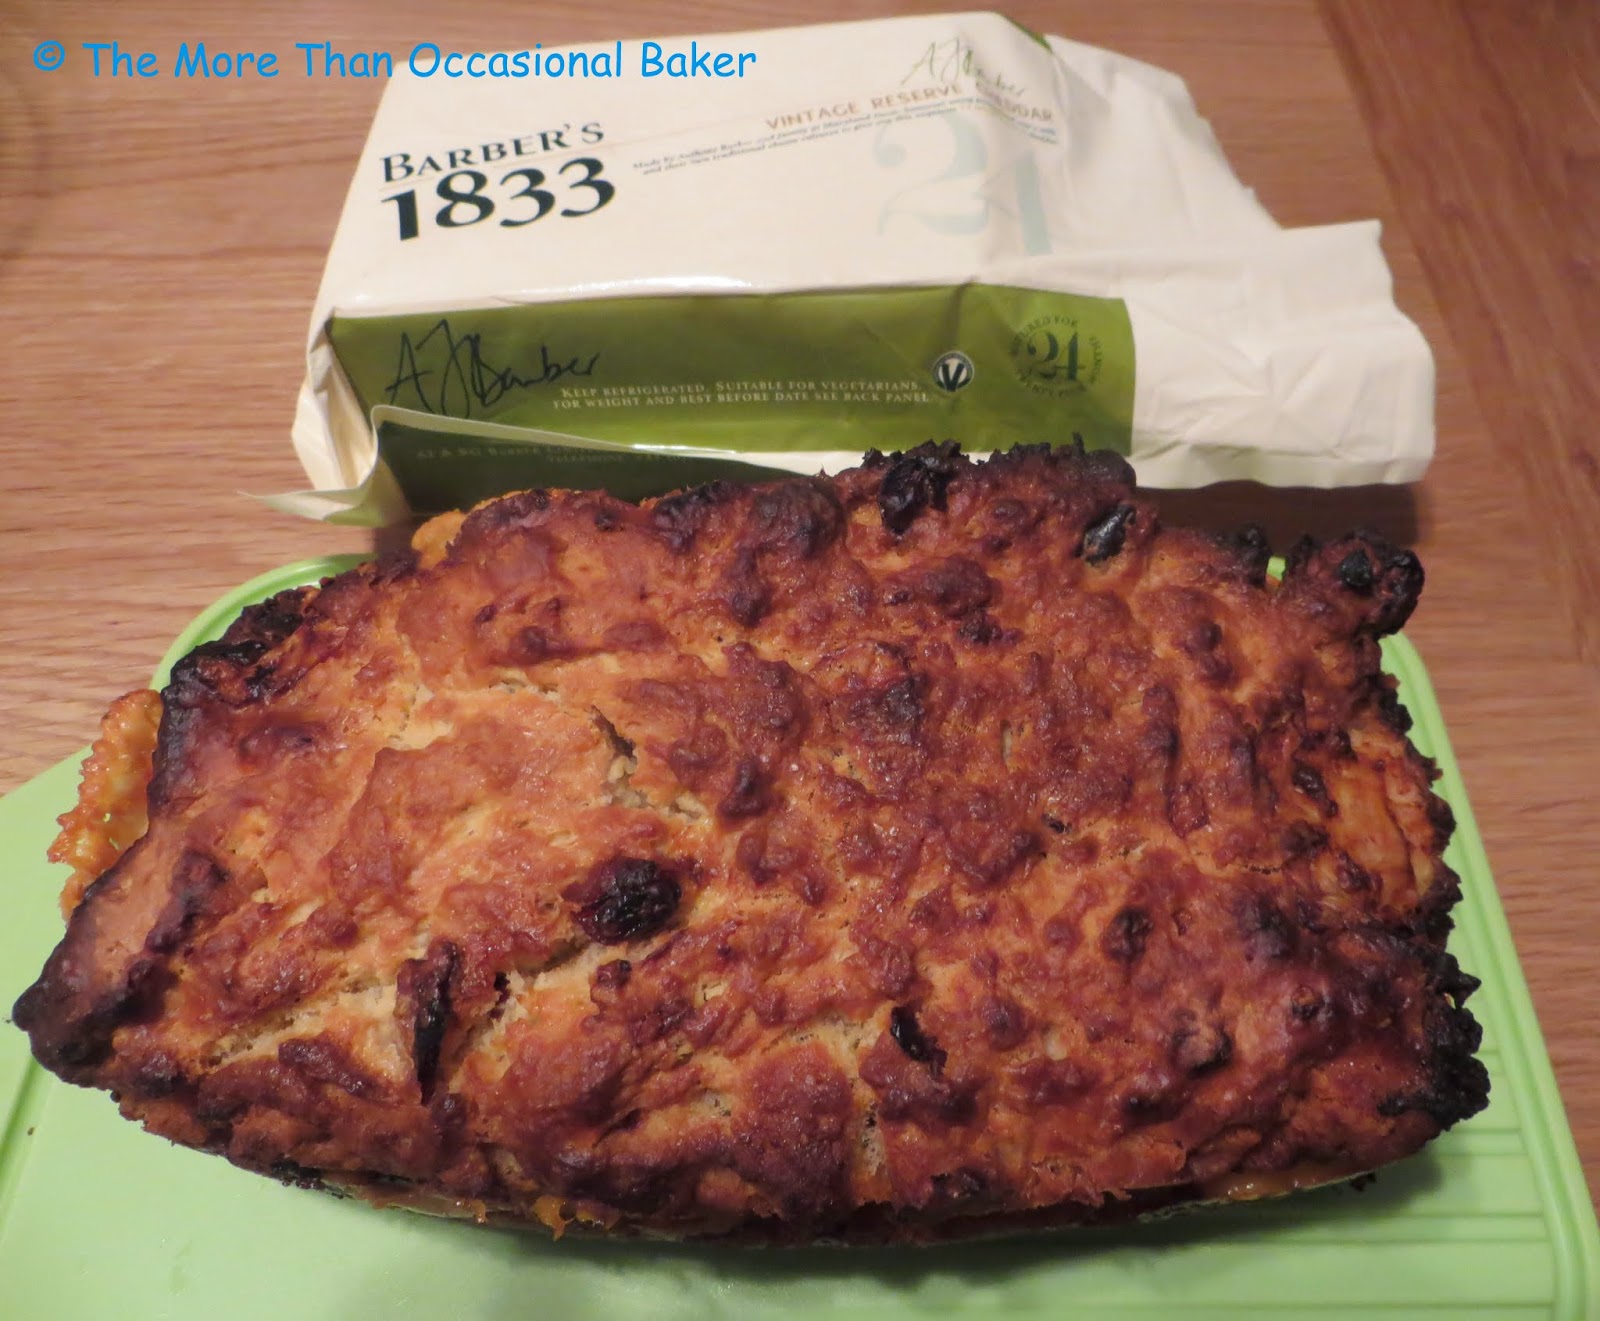
This bread is best eaten fresh on the day it's baked. The crust was my favourite part and I could have eaten the whole crust in one go! You can definitely taste the beer in the bread but the honey notes were subtle. You can clearly taste the cheese as it has a rich and strong flavour which is not masked by the honey or bread. It also adds a lovely saltiness to the bread and the cranberries add a burst of sweetness and texture. You also get bits of crusty melted cheese on the outside. We couldn't finish the whole loaf between us in one sitting so I toasted a few slices 2 days later and it was still very good. In fact, I think I prefer the toasted version as you get lots of crispy bits. Make sure you turn your toaster on a low setting as you don't want to burn the cheese!  


 Barber's Vintage reserve Cheddar


 Pour beer into the batter in one go 

 add dried cranberries and chunks of cheddar 

add melted butter before baking 

 fresh from the oven 


 serve warm with butter 

An original recipe by bakingaddict

470g plain flour
2 tablespoons light brown sugar
1 tablespoon honey (you can add another tablespoon if you want a sweeter bake) 
1 tablespoon baking powder
1 teaspoon salt
1 bottle Honey Beer, unopened and at room temperature
60g melted butter
60g dried cranberries (could add a bit more)
180g Barber's Vintage cheddar cheese, roughly cut into chunks
  • Preheat the oven to 190C.
  • In a large bowl, mix the flour, brown sugar, baking powder and salt. 
  • Add in the honey.
  • Open the beer and all it all at once to the batter - it will foam up.
  • Stir briskly until just combined - be careful not to overmix.
  • Add in the dried cranberries and cheddar chunks and stir a few more times to incorpate it.
  • Pour into a loaf tin and drizzle with the melted butter.
  • Bake for 35-40 minutes until golden brown and a skewer inserted into the centre comes out clean. 
  • Allow to rest in the pan for 5 minutes before serving.
  • Best served warm with butter. 

Disclaimer: I was invited to the Cheese Awards by Barber's Cheese at BBC Good Food Show. I was not required to write a positive review and all opinions are my own. This is not a sponsored post.

Tuesday, 18 November 2014

Parsnip Cake and a review


I watched a demonstration by Mich Turner at a cake show years ago and was really impressed. Jacqui Small offered me a review copy of Mich Turner's Cake School and I can tell you now that I will be referring to this book frequently from now on. First impressions are that it's a substantial book. It's a large hardback with 272 pages including index. It has stunning colour photography by Amanda Heywood. I love a recipe with photos and this definitely delivers on that count.


Mich's introduction explains that this book is more than just about recipes, it's to help you understand the stages of baking, what is important, what to do, what not to do and offers lots of practical hints and tips. It has a nice large, easy to read font accompanied by pictorials.


The chapters are divided into

  • Lesson 1 : Making & Baking Cakes - ingredients, preparation, cake-baking methods
  • Lesson 2: Putting it All Together - fillings & frostings, covering & assembly
  • Lesson 3 : Decorating - hand piping, hand moulding, hand painting
  • Cake Templates
  • Tools
  • Index
Below is an example page of her monochrome lace tutorial with pictorial step by step guide and hand tips from Mich. 


She also has a tutorial on hand-moulding teddy bears. The bear looks really realistic!


There are a few recipes in the book for cakes, brownies and muffins. I chose to make her parsnip cake as I've tried it once before and it was delicious.  As Mich says, the cake is wonderfully moist, sweet and succelent. She's added in apples, walnuts and maple syrup all of which work well with the parsnips. Everyone was really impressed with the cake and could not tell that there were parsnips in the cake.

My verdict - This is really good book to have on your shelf whether you are a beginner or an advanced baker. It's full of practical tips and the book is beautifully laid out with plenty of colour photographs illustrating methods and recipes. It's very easy to read and the instructions are clear and simple. I would have happily bought this book for myself and will definitely make a great gift either for yourself or for someone else.

If you are interested in a copy, Jacqui Small are offering a discount to my readers.
To order Mich Turner's Cake School at the discounted price of £24.00 including p&p* (RRP: £30.00), telephone 01903 828503 or email mailorders@lbsltd.co.uk and quote the offer code APG212.
*UK ONLY - Please add £2.50 if ordering from overseas.


 melt butter, sugar and maple syrup

 grated parsnip, apple and orange zest

 adding the grated parsnip, apple and orange zest

 adding in the walnuts

 Place one cake on a serving tray then smooth frosting on top 

 place the second cake on top and cover with the remaining frosting

 drizzle with maple syrup before serving 


 who wants a slice? 

Recipe extracted from Mich Turner's Cake School by Mich Turner, published by Jacqui Small www.jacquismallpub.com - reproduced with permission

Makes a 20cm (8inch) round cake
For the cake
175g unsalted butter
250g demerara sugar
100ml maple syrup
3 large eggs
250g self-raising flour
2 teaspoons baking powder
2 teaspoons mixed spie
150g parsnips, peeled and grated
1 medium apple, peeled and grated 
grated zest of 1 small orange, plus 2 tablespoons juie
50g walnuts, roughly chopped

For the mascarpone and maple syrup frosting
250g mascarpone
3 tablespoons maple syrup, plus extra to drizzle

  • Preheat the oven to 180C/350F/Gas Mark 4.
  • Grease and line two 20cm (8inch) sandwich tins with non-stick baking parchment. 
  • Melt the butter, sugar and maple syrup together in a saucepan over a gentle heat until dissolved and smooth. 
  • Remove from the heat and leave to cool slightly.
  • Whick the eggs into the mixture.
  • In a separate bowl, sift together the flour, baking powder and mixed spice.
  • Stir this into the cake batter until smooth. 
  • Add the grated parsnips, apple, orange zest and juice and the walnuts and stir until well combined,
  • Divide the cake mixture between the prepared tins and bake for 25-30 minutes or until the cake is golden brown and the tops spring back when pressed lightly. 
  • Transfer the tins to a wire rack to cool for 5 minutes in the tins before turning out and leaving to cool completely.
  • To make the frosting; just before serving, stir the maple syrup into the mascarpone.
  • Place one cake on a serving plate.
  • Spread half the mascarpone frosting over the base cake and place the other cake on top.
  • Spread the remaining frosting on top of the cake and drizzle with maple syrup as the cake is served.
  • Storage: Keeps for 3 days in an airtight container - preferably in the fridge.
  • Variation: Substitute half the parsnip with grated carrot. 
Disclaimer: I was sent a copy of Mich Turner's Cake School for review purposes. A positive review was not required and all opinions expressed are my own. This is not a sponsored post.